Luke's Diner Secret Santa Gift
Learning stained glass and ceramic decal techniques to make a Gilmore Girls-themed gift set.
Gilmore Girls was a staple on long car trips growing up. My sisters and I would conveniently store several seasons worth of discs in our van, so I’ve seen every episode multiple times. When I drew my older sister for Secret Santa, it felt like an obvious theme and a good excuse to learn two new techniques I had been wanting to try: stained glass and ceramic decals.
I’d seen two videos of people making Tiffany lamps at home (“What’s Another Hobby” and “Pask Makes” on YouTube) with surprisingly professional results using relatively few tools and I wanted to try it myself. My sisters and I had taken a ceramics class over the summer, and I already have a small kiln for investment casting, so this was also a good excuse to use it for ceramics.
Stained Glass Sign
The basic process for Tiffany-method stained glass is: cut pieces of glass to shape, grind the edges to fit, wrap them in copper foil tape, solder the joints, and apply patina and wax. I picked up a fairly complete kit of tools including assorted glass sheets, glass cutting tools, a small glass grinder machine, copper foil tape, wax, patina, and flux.
Pattern Making
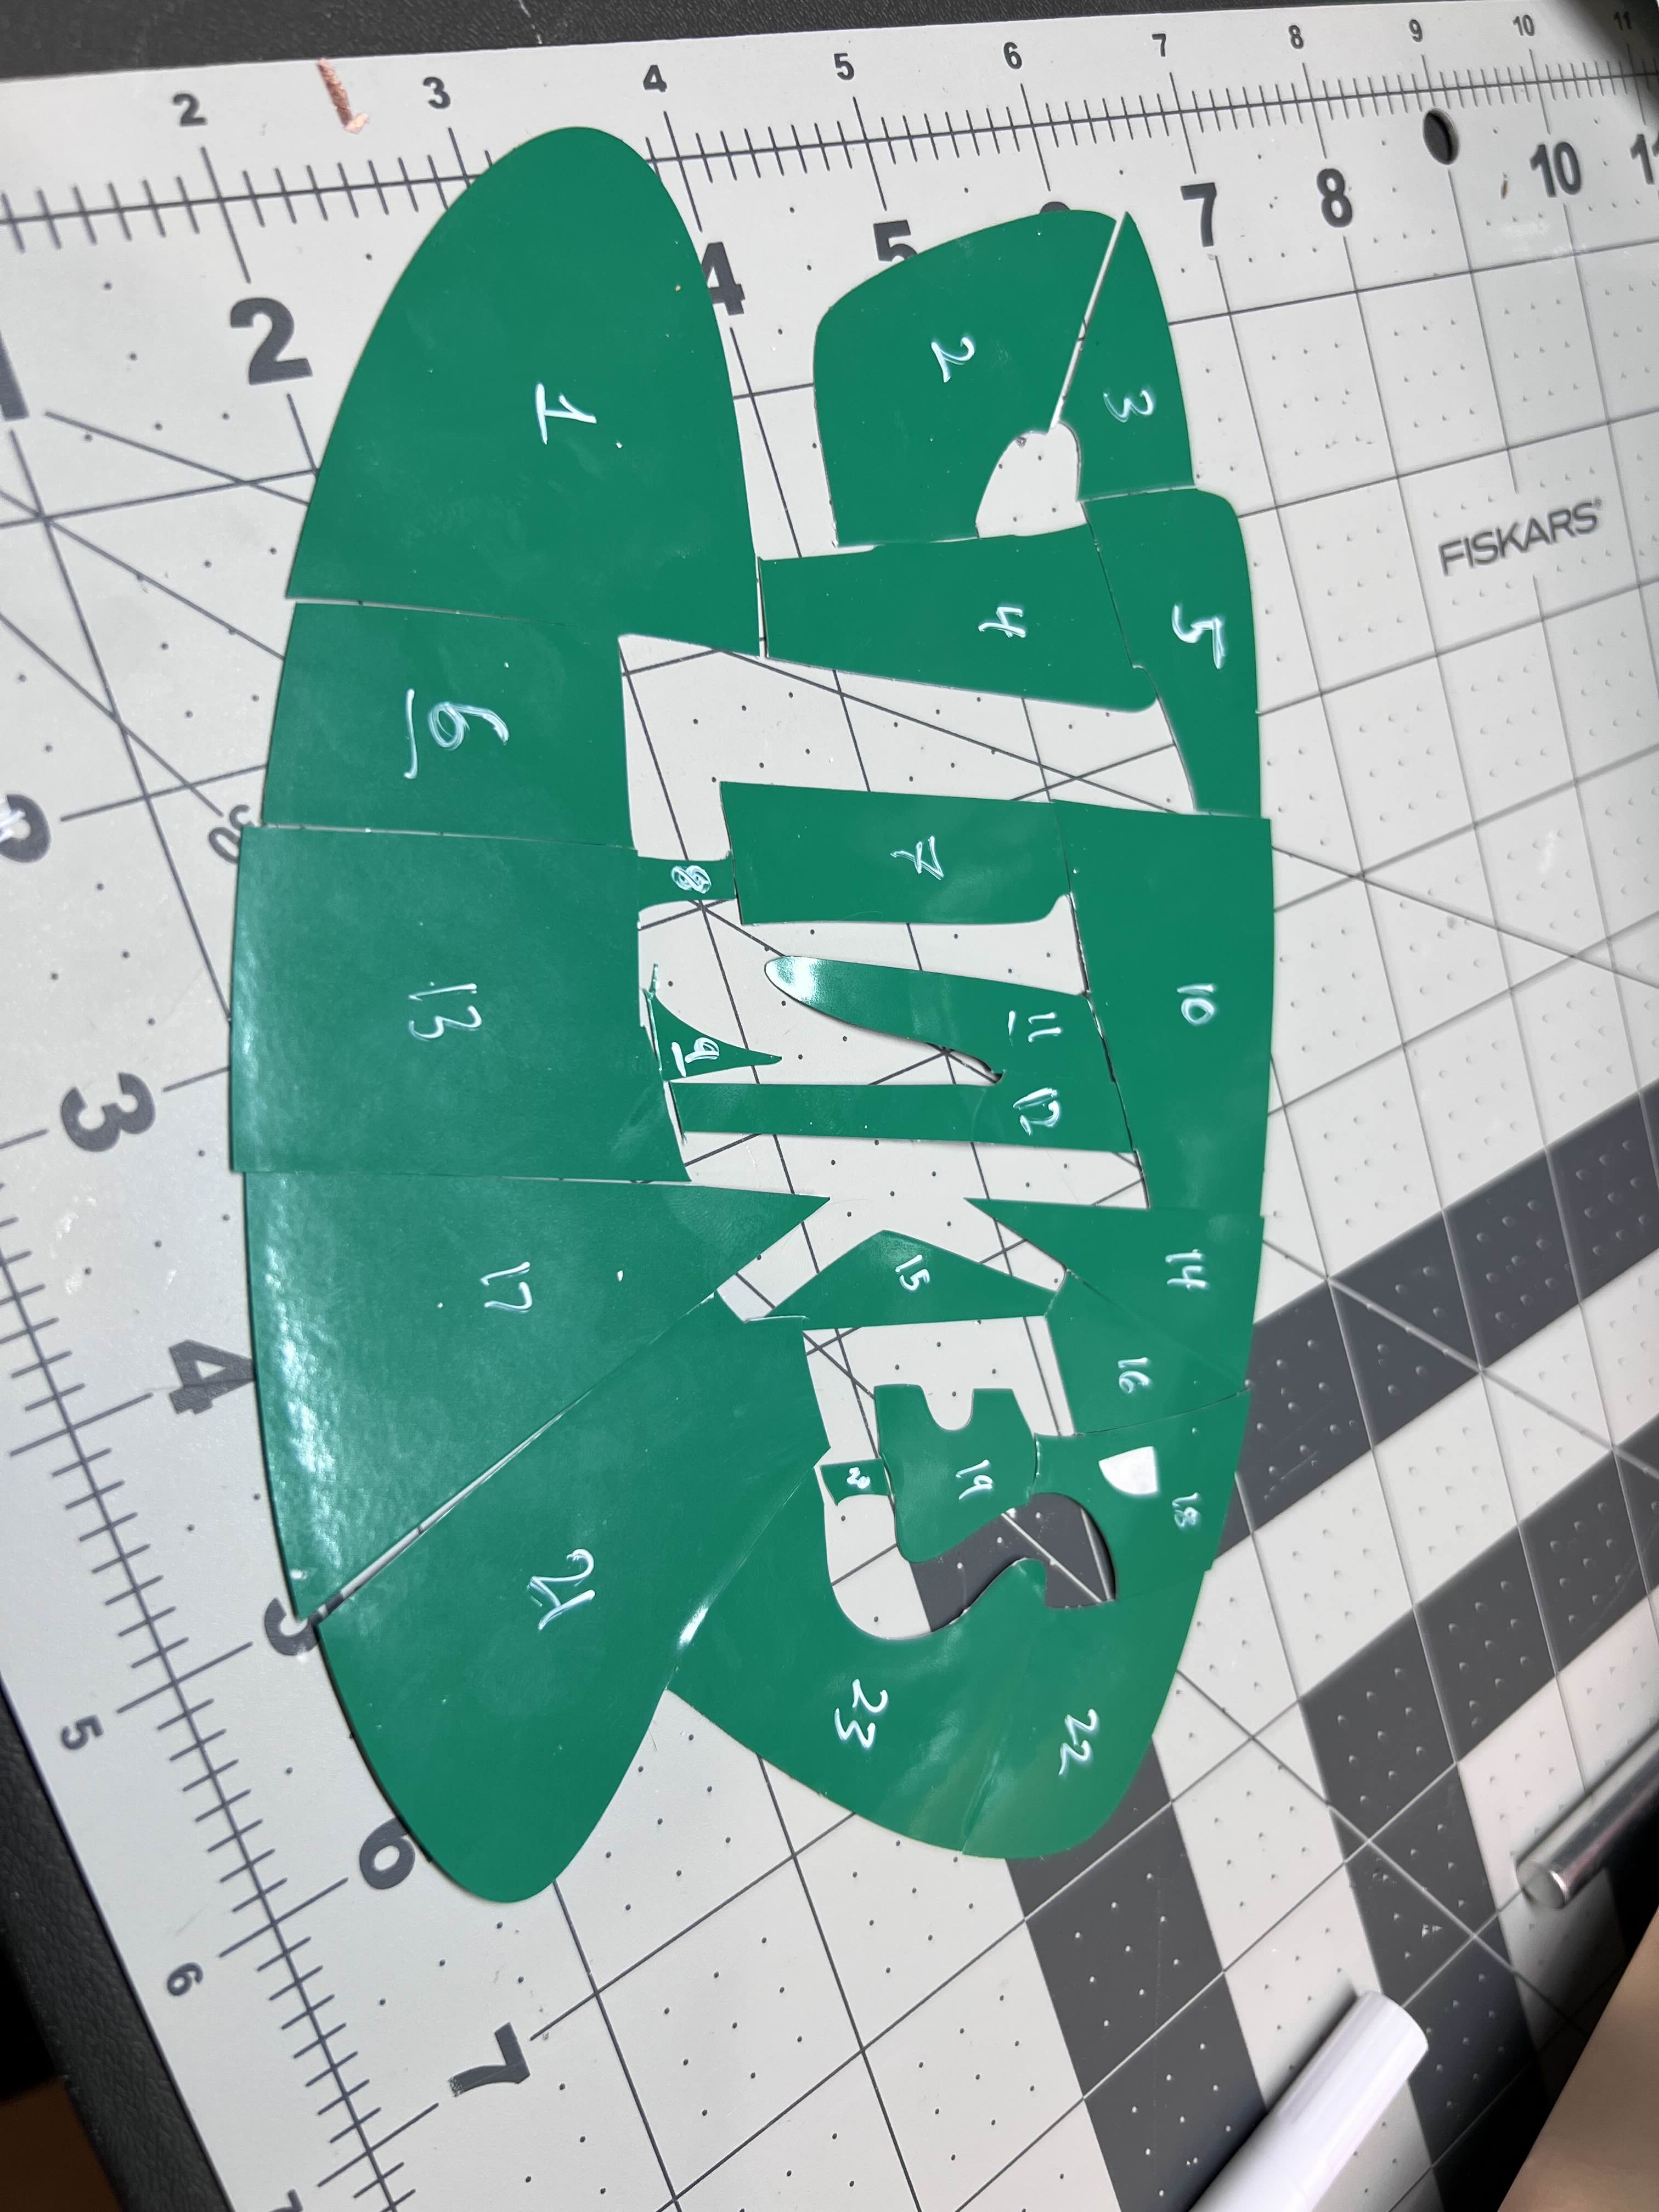
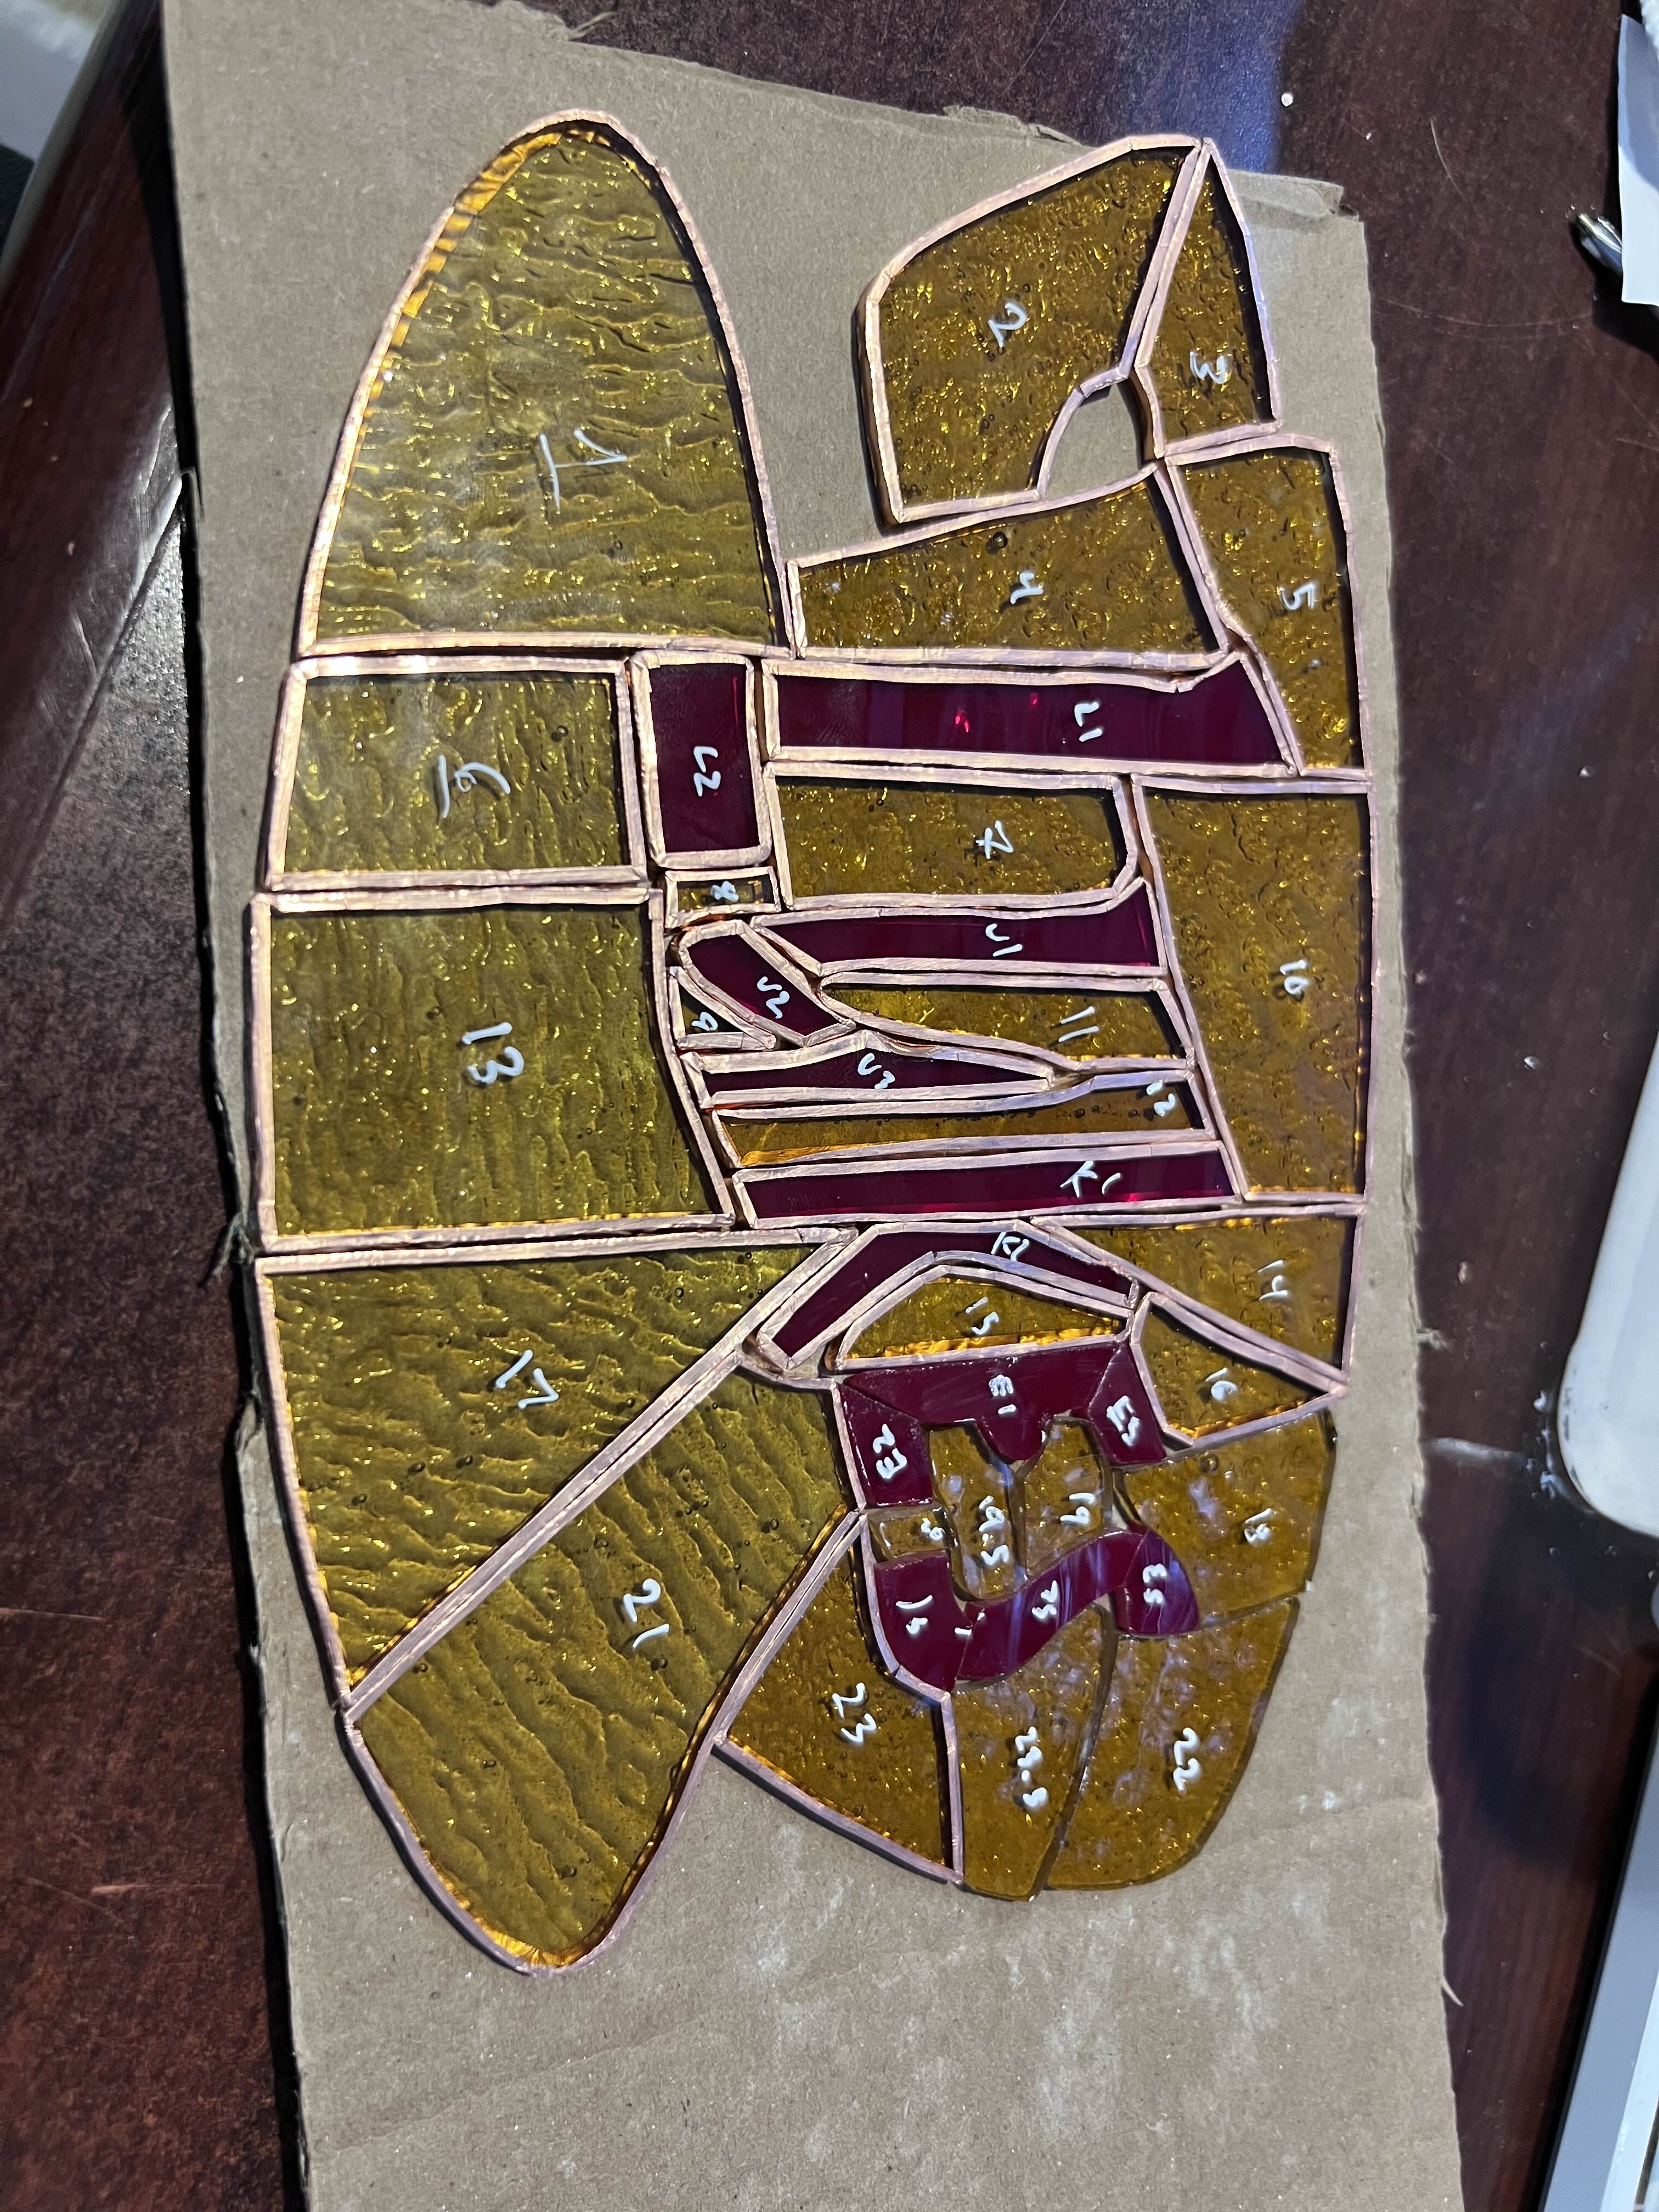
I started with a logo from the show and converted it to SVG in Illustrator. The hardest part was figuring out how to split the design into individual pieces that could actually be cut from glass. Sharp internal corners are impossible to cut, and tight concave curves are difficult even with grinding. I had to manually break up the letters and background sections to avoid those constraints. For the layout, I used vinyl stencils cut on my Silhouette Portrait and then an X-Acto knife to separate them into individual pieces.
Cutting, Grinding, and Assembly
Cutting glass is satisfying but finicky. You score a line with the carbide cutter, then snap the glass along the score with breaking pliers. The snapping is quick and extremely satisfying, but it’s the grinding and fitting that takes time.

I had to re-split several pieces mid-project when I realized some internal curves were tighter than my grinding bit diameter. I also almost ran out of yellow glass, which would have delayed the project but luckily one of the other glass sheets was close in color.
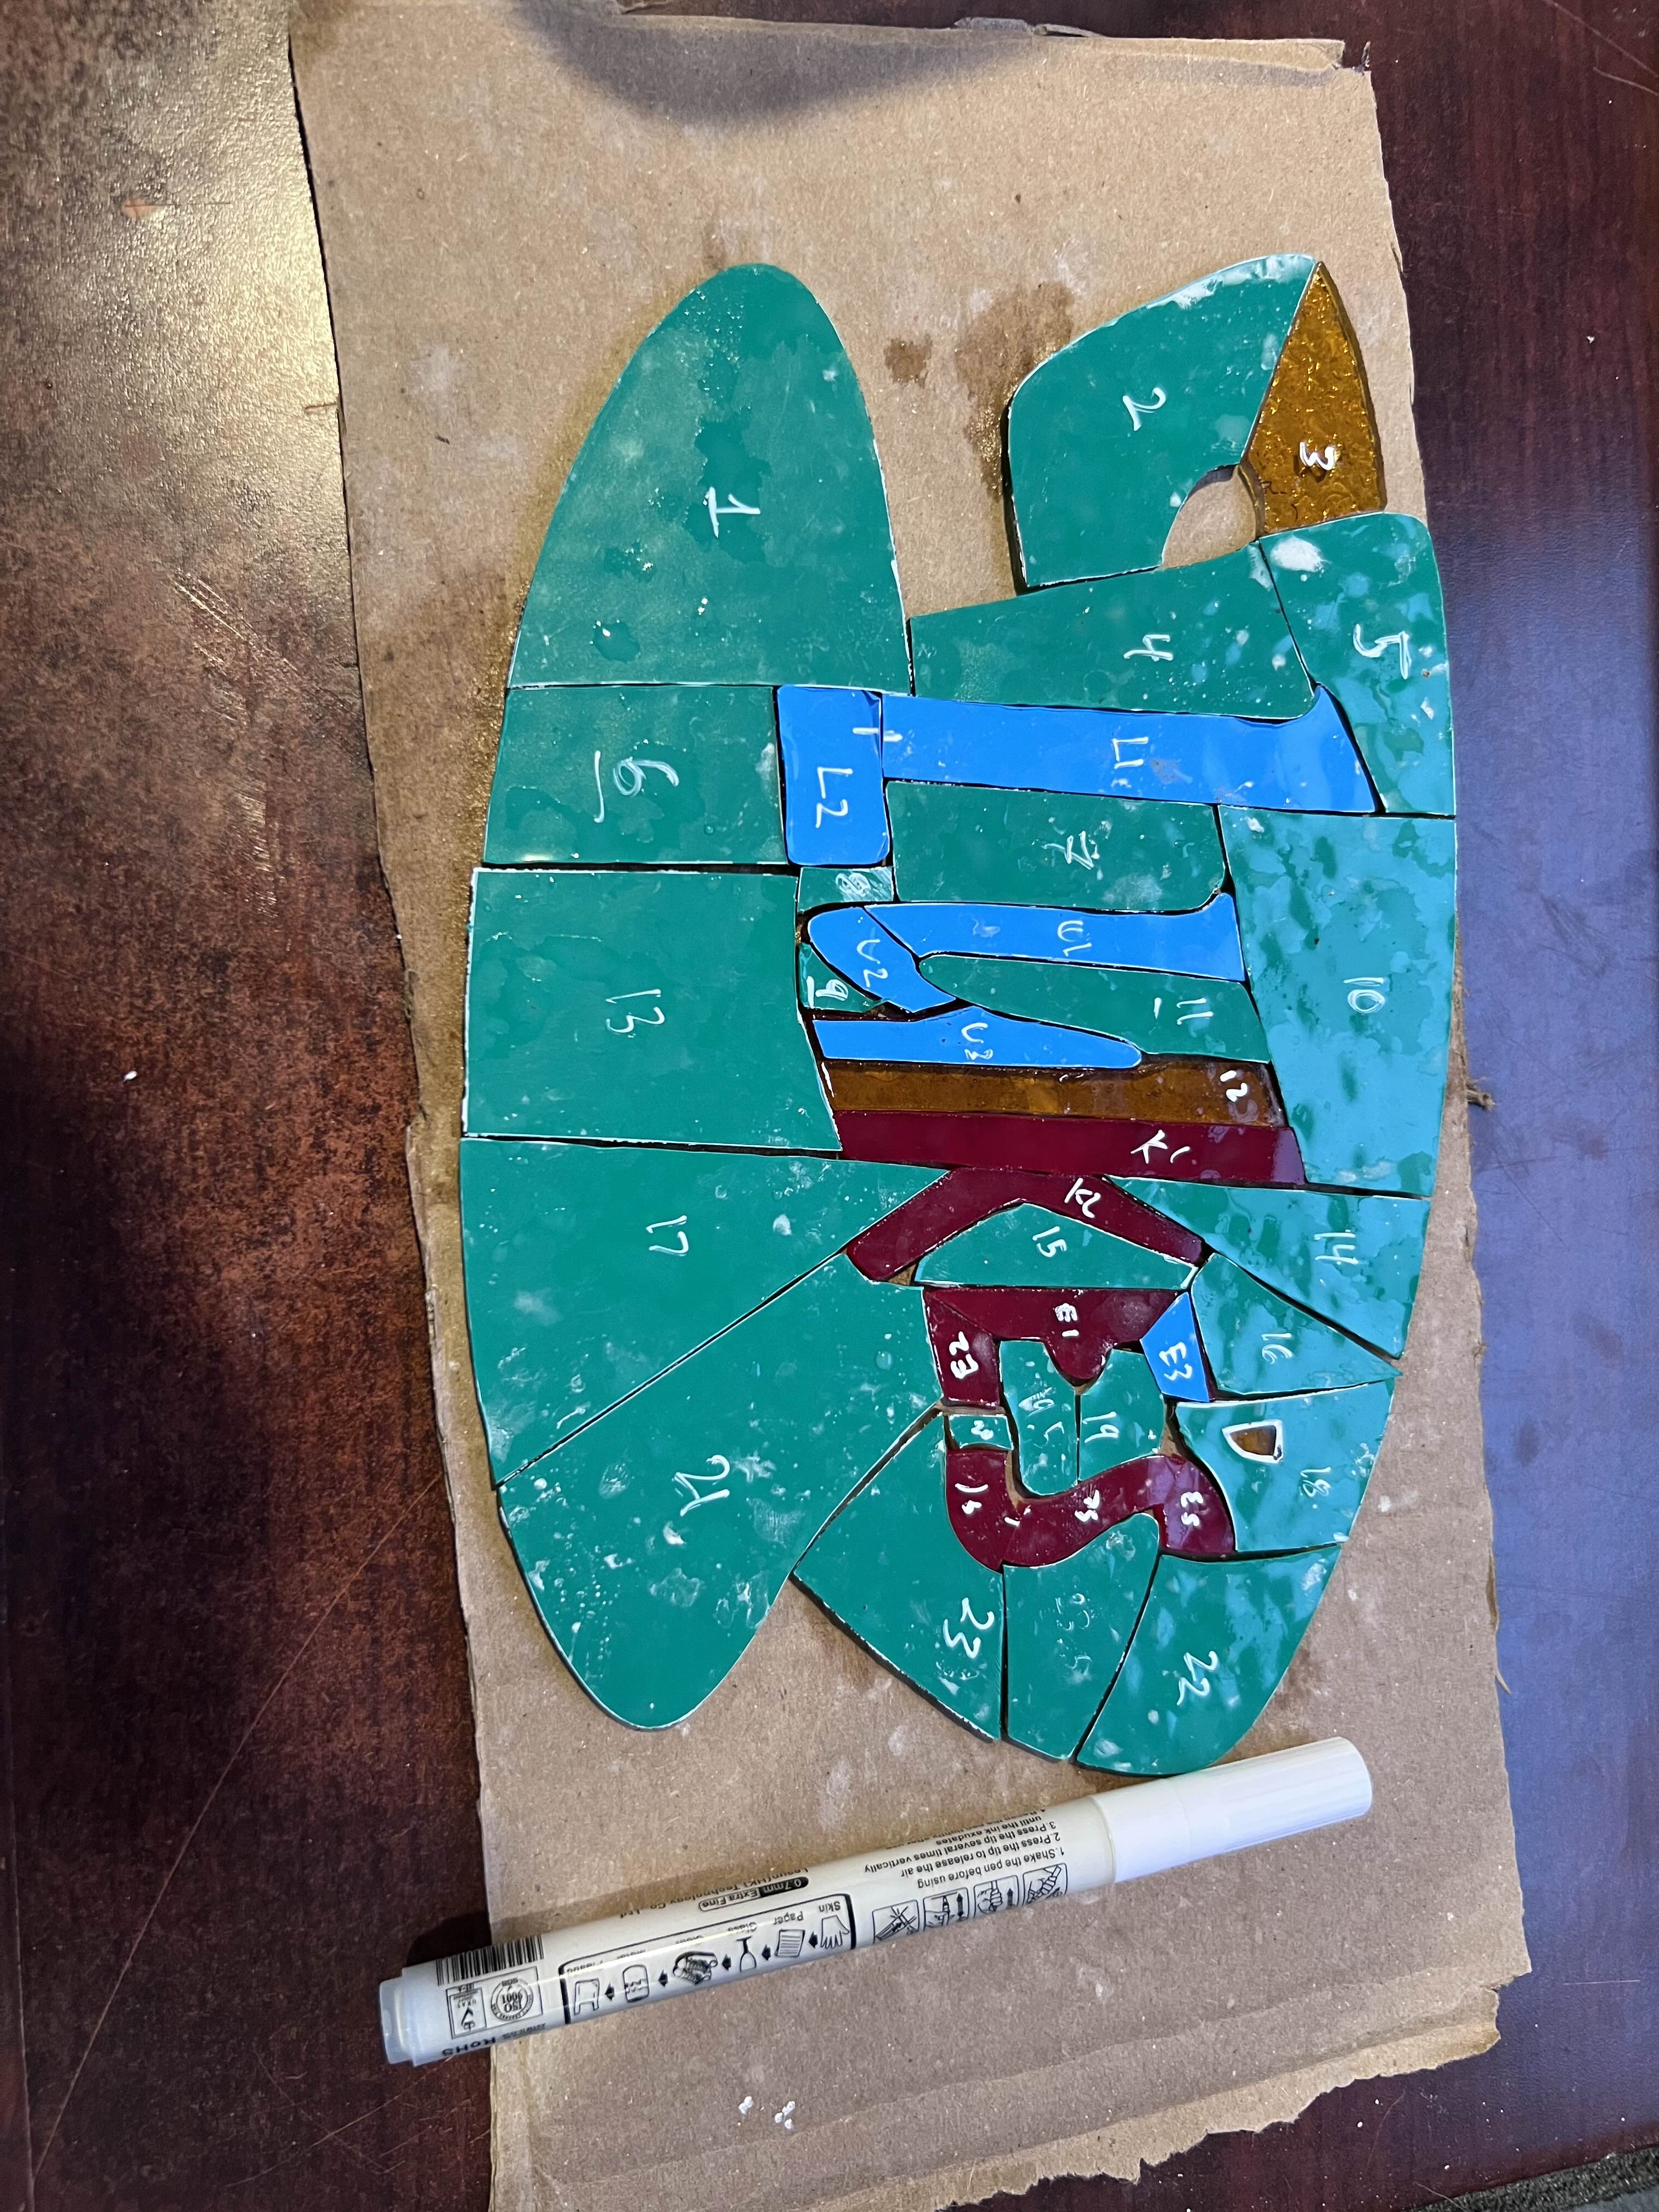
Once everything was ground to fit, I wrapped each piece in copper foil tape. The foiling process is tedious but a good task to zone out to while watching a show.
After foiling all the pieces I used some glue dots to hold everything in place. Then I fluxed the joints and soldered them together. Getting a smooth, even bead takes practice, but solder is forgiving.
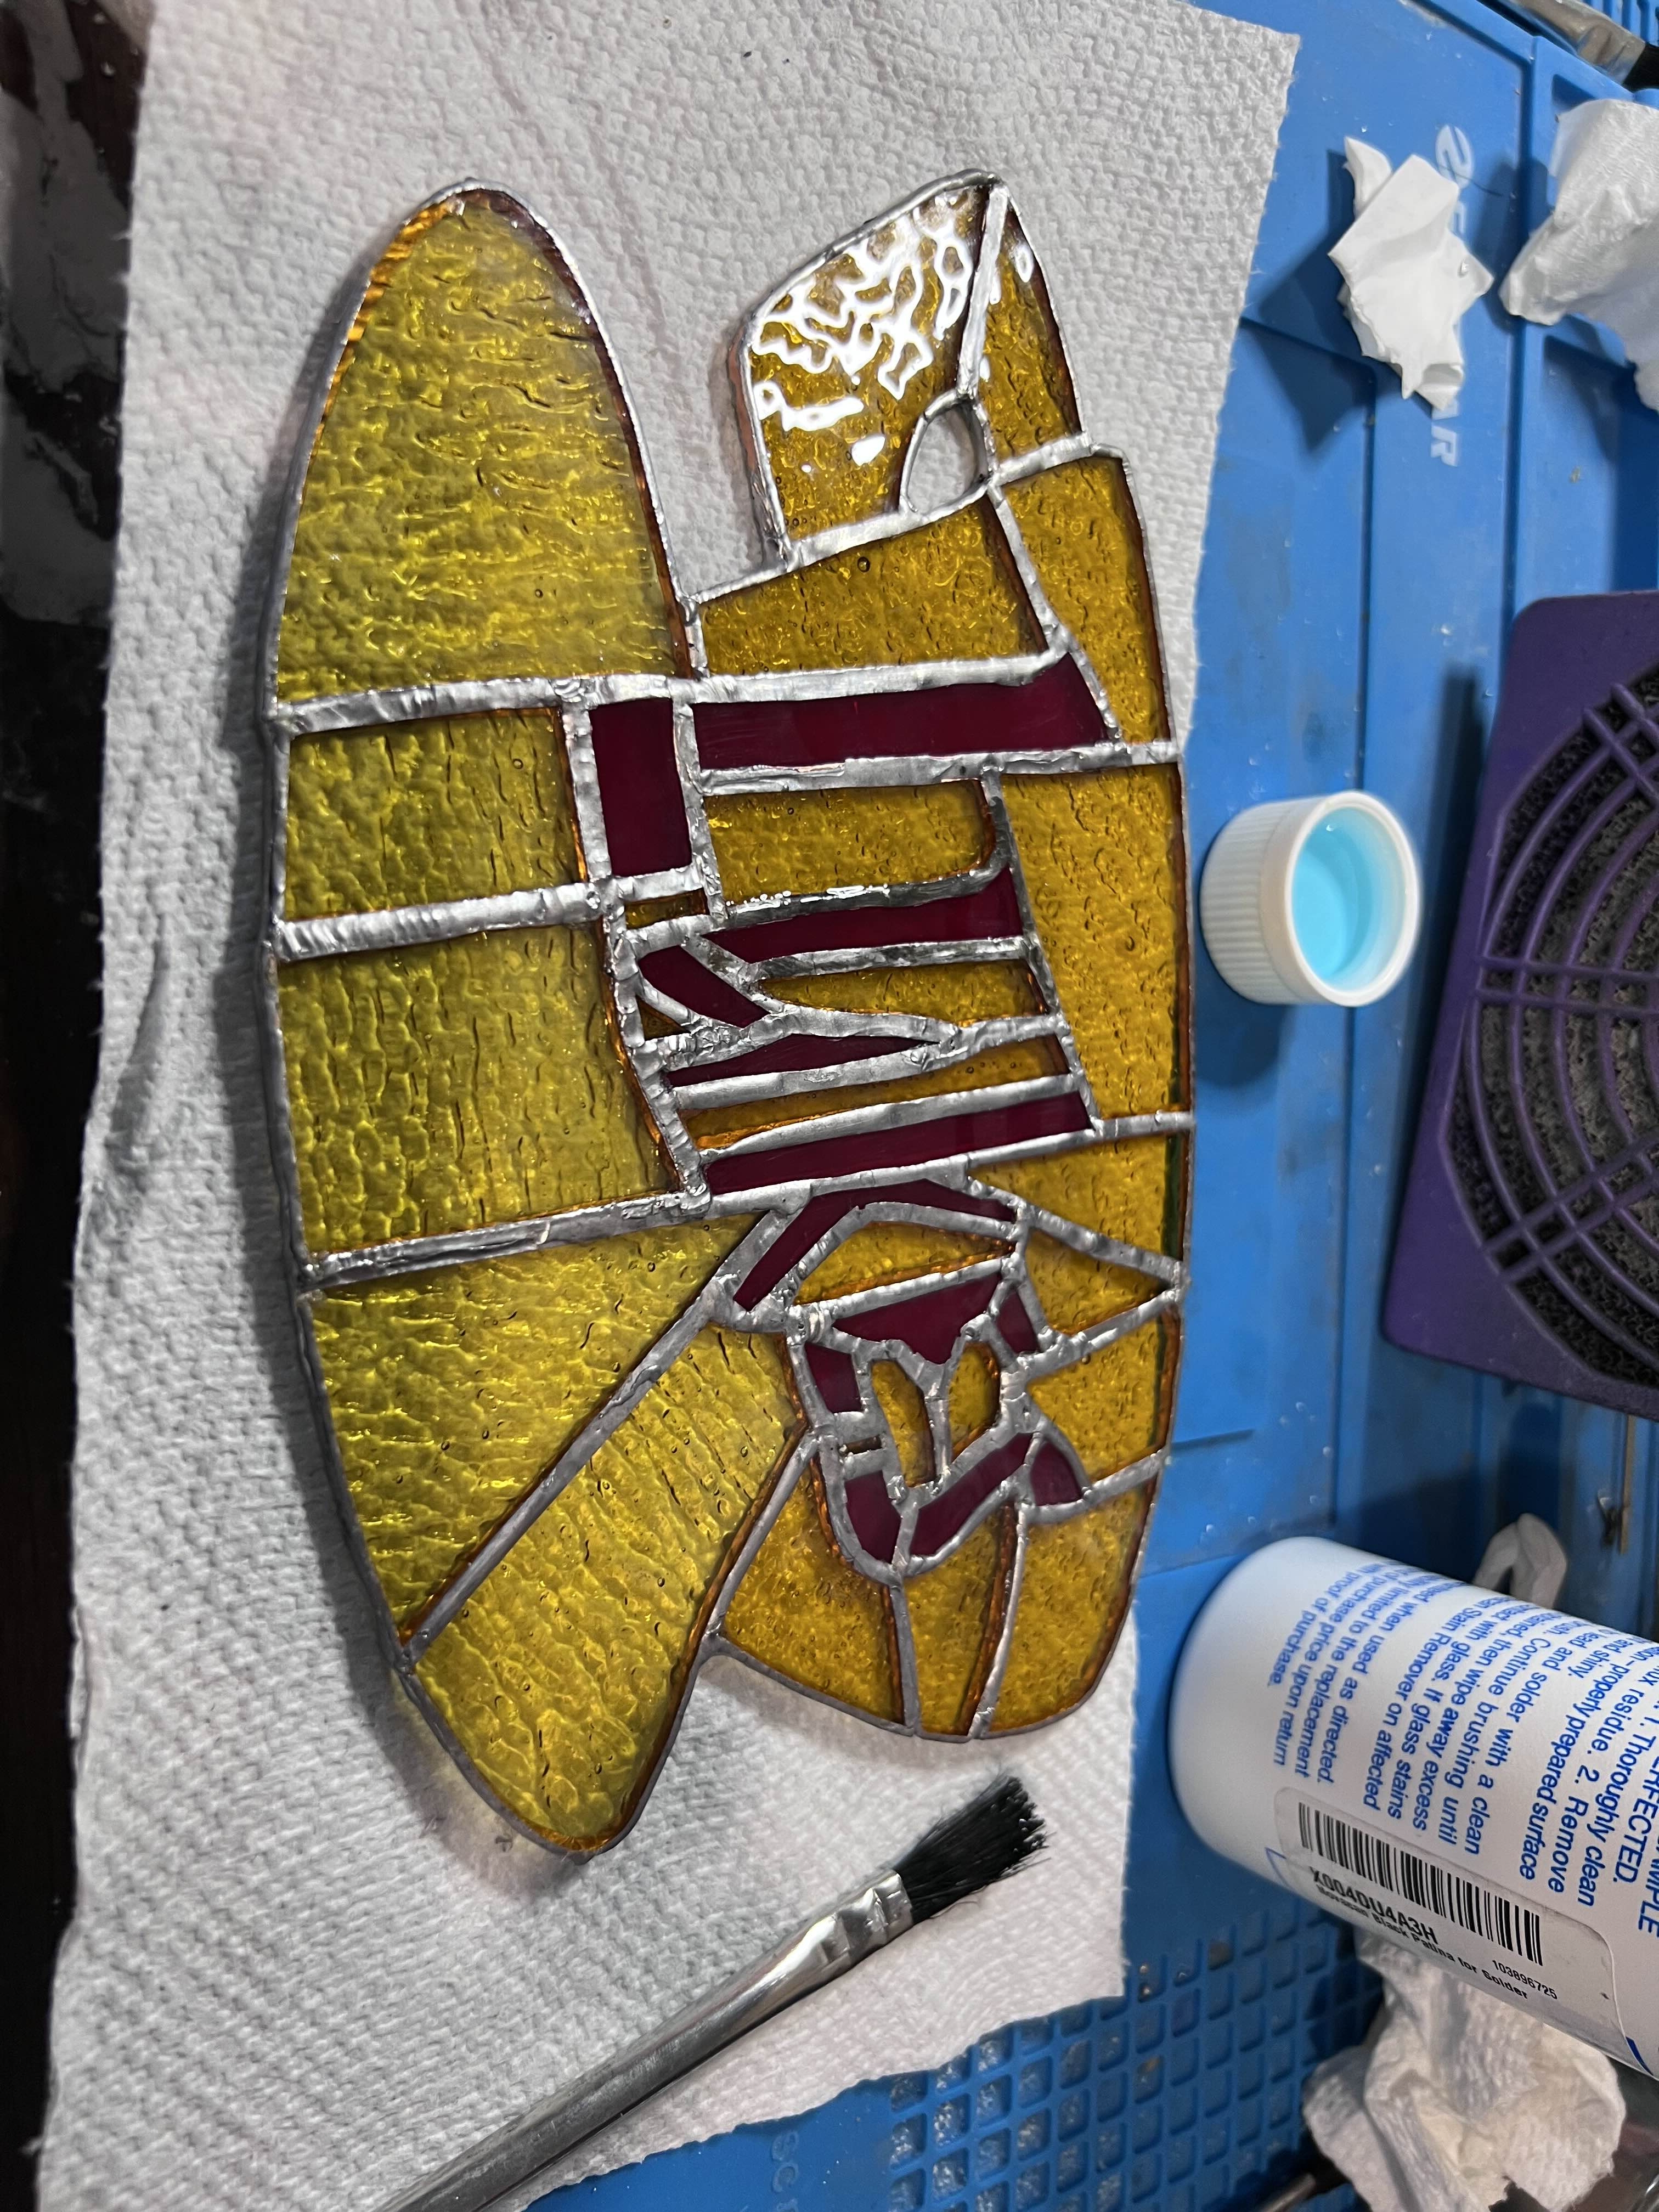
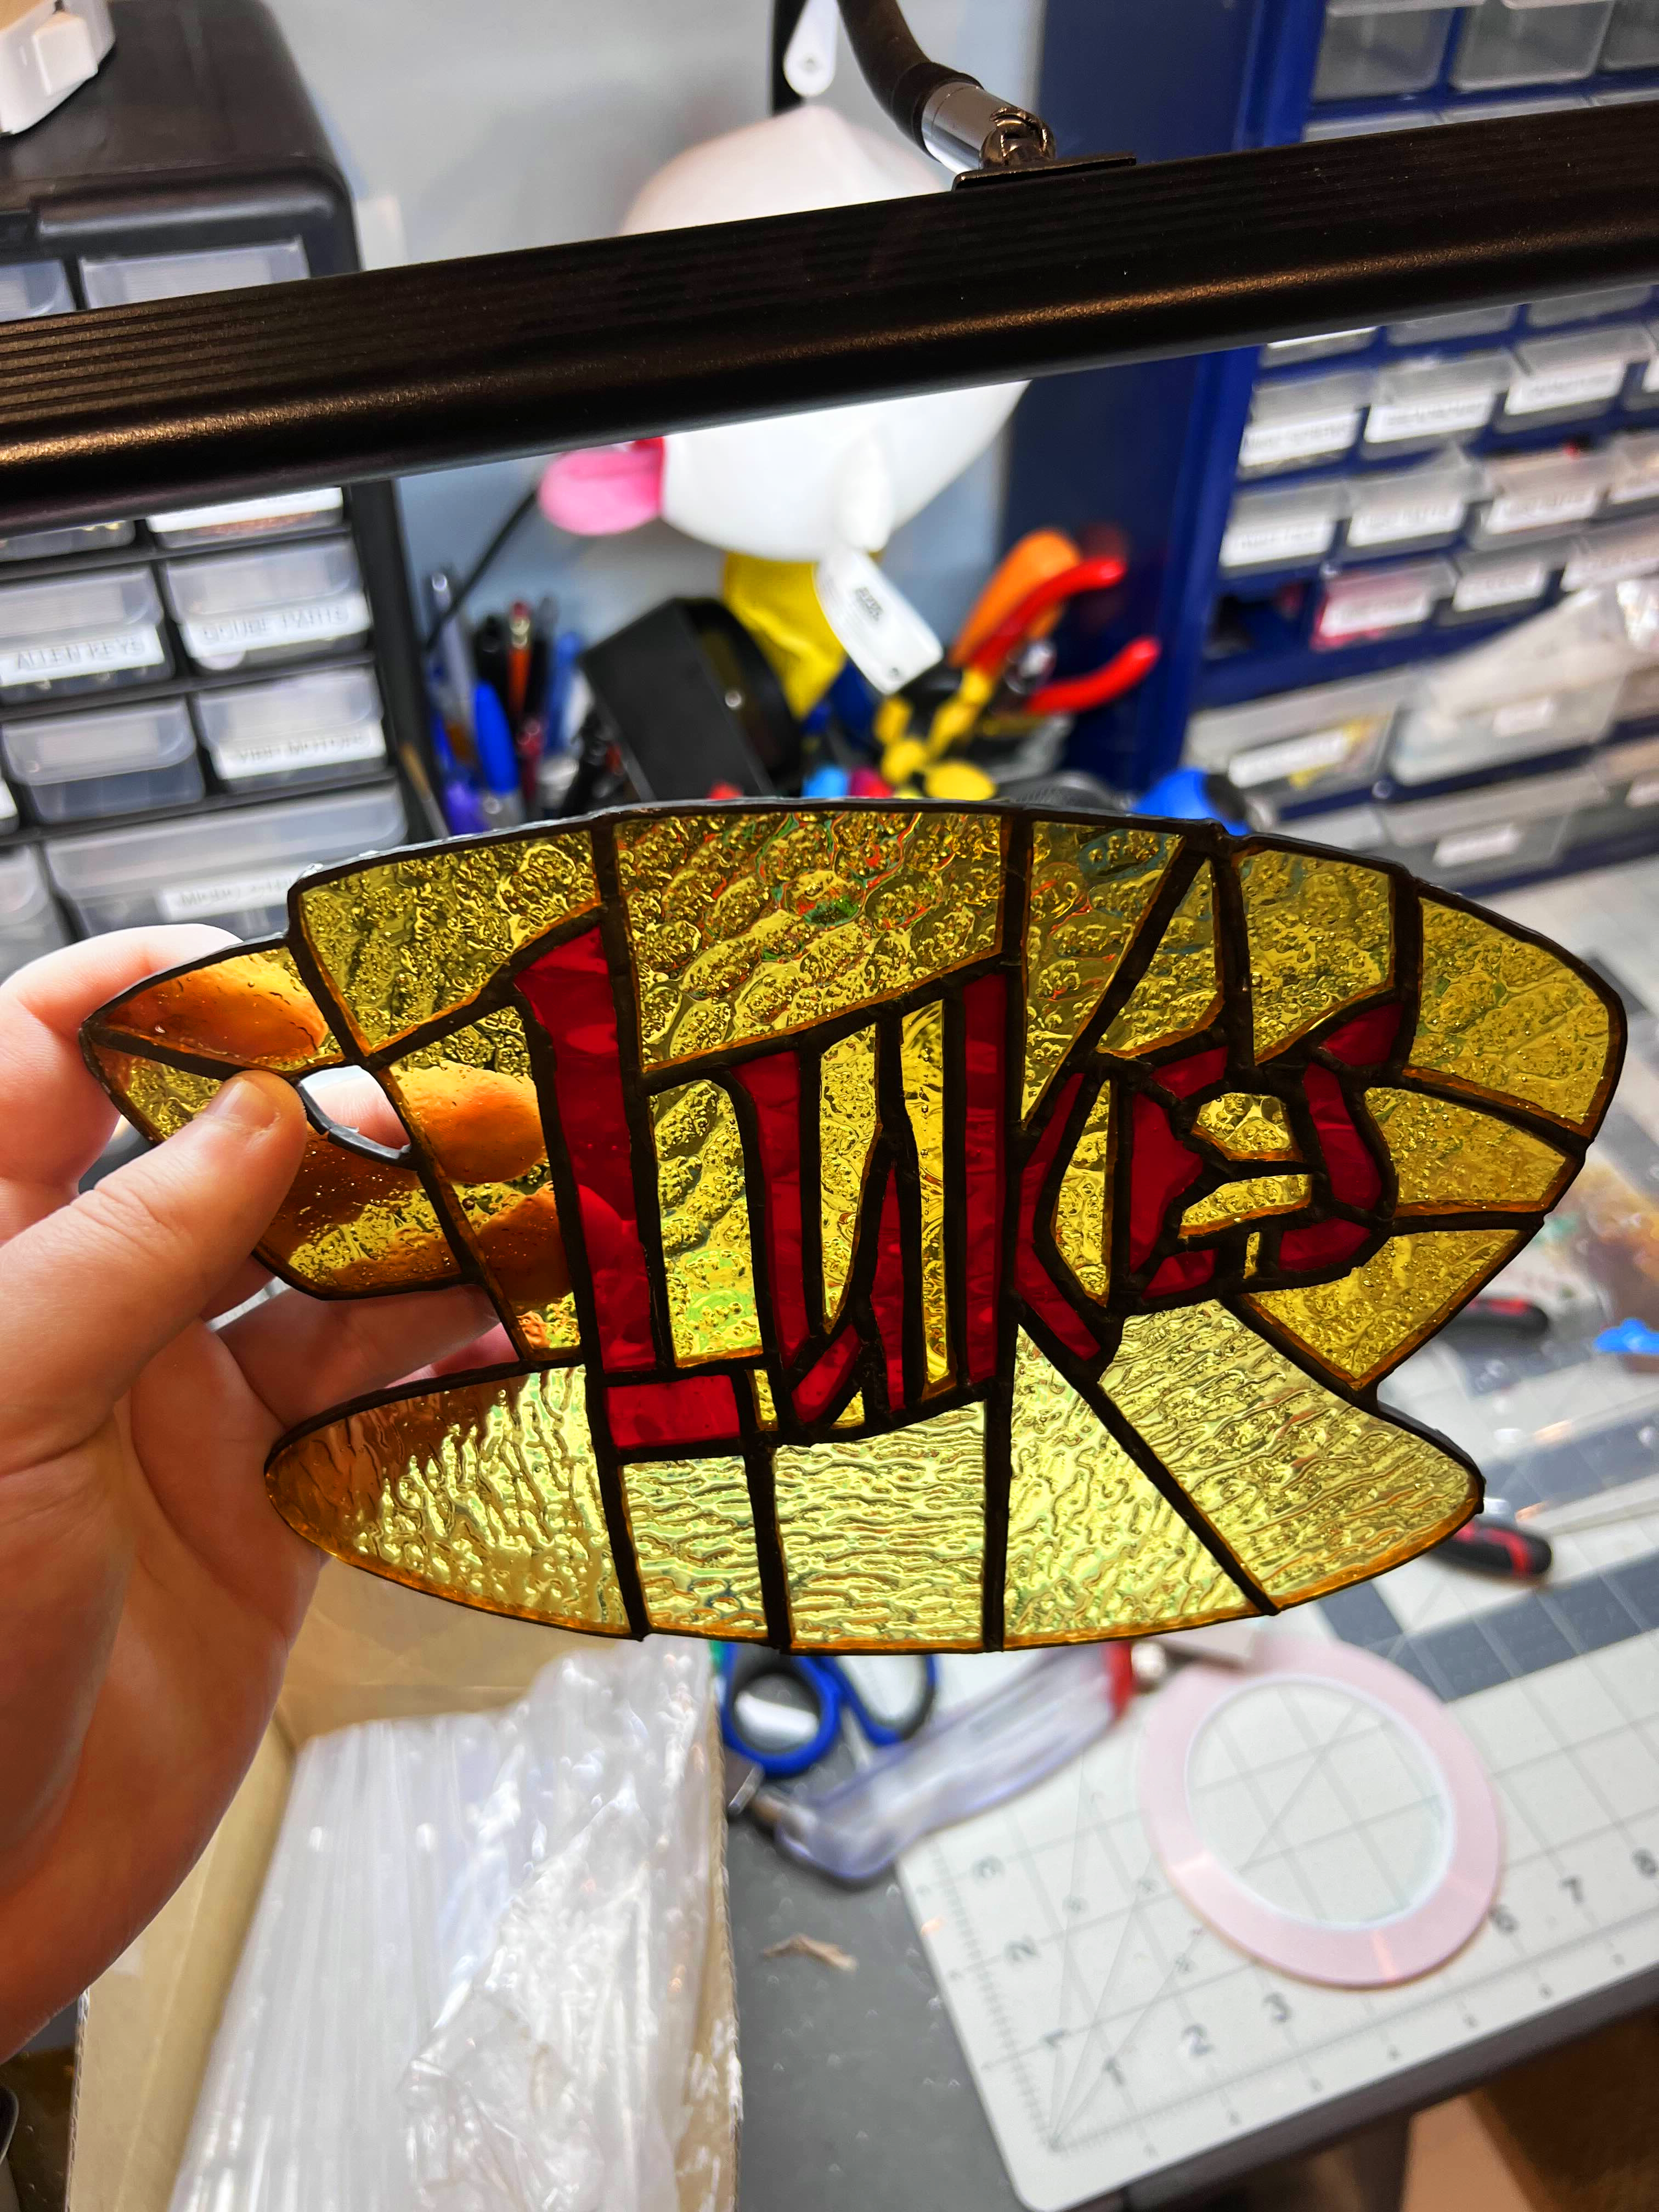
After soldering, I applied black patina to darken the solder lines and give it a finished look, then waxed everything to seal it. The actual soldering, patina, and wax steps were straightforward. Grinding and taping ate up most of the 6-8 hours total this took.
Diner Mug
I was originally planning to make a coffee mug from scratch using slip casting, but I knew that I could still add a custom decal to a commercial mug if that fell through.
Slip Casting
I quickly realized my $30 pottery wheel was not going to work, so I pivoted to slip casting which should have paired well with my 3D printing and mold-making experience. After buying a 50lb bag of plaster, the mold making went well, but the problems started when I was preparing slip from a wet clay body.
When I added too much water to my initial slip mixture, I had to wait days for it to dry back out. Although the mold quality was fine, I was also using molds before they fully dried out and with slip that had too low of a specific gravity. The result was inconsistent wall thickness and long demolding times.
With only a 10-pound bag of clay, limited time, and needing to fit in bisque firing, glaze firing, and decal firing before Christmas, I gave up on slip casting and ordered a commercial porcelain mug instead.
Overglaze Decals
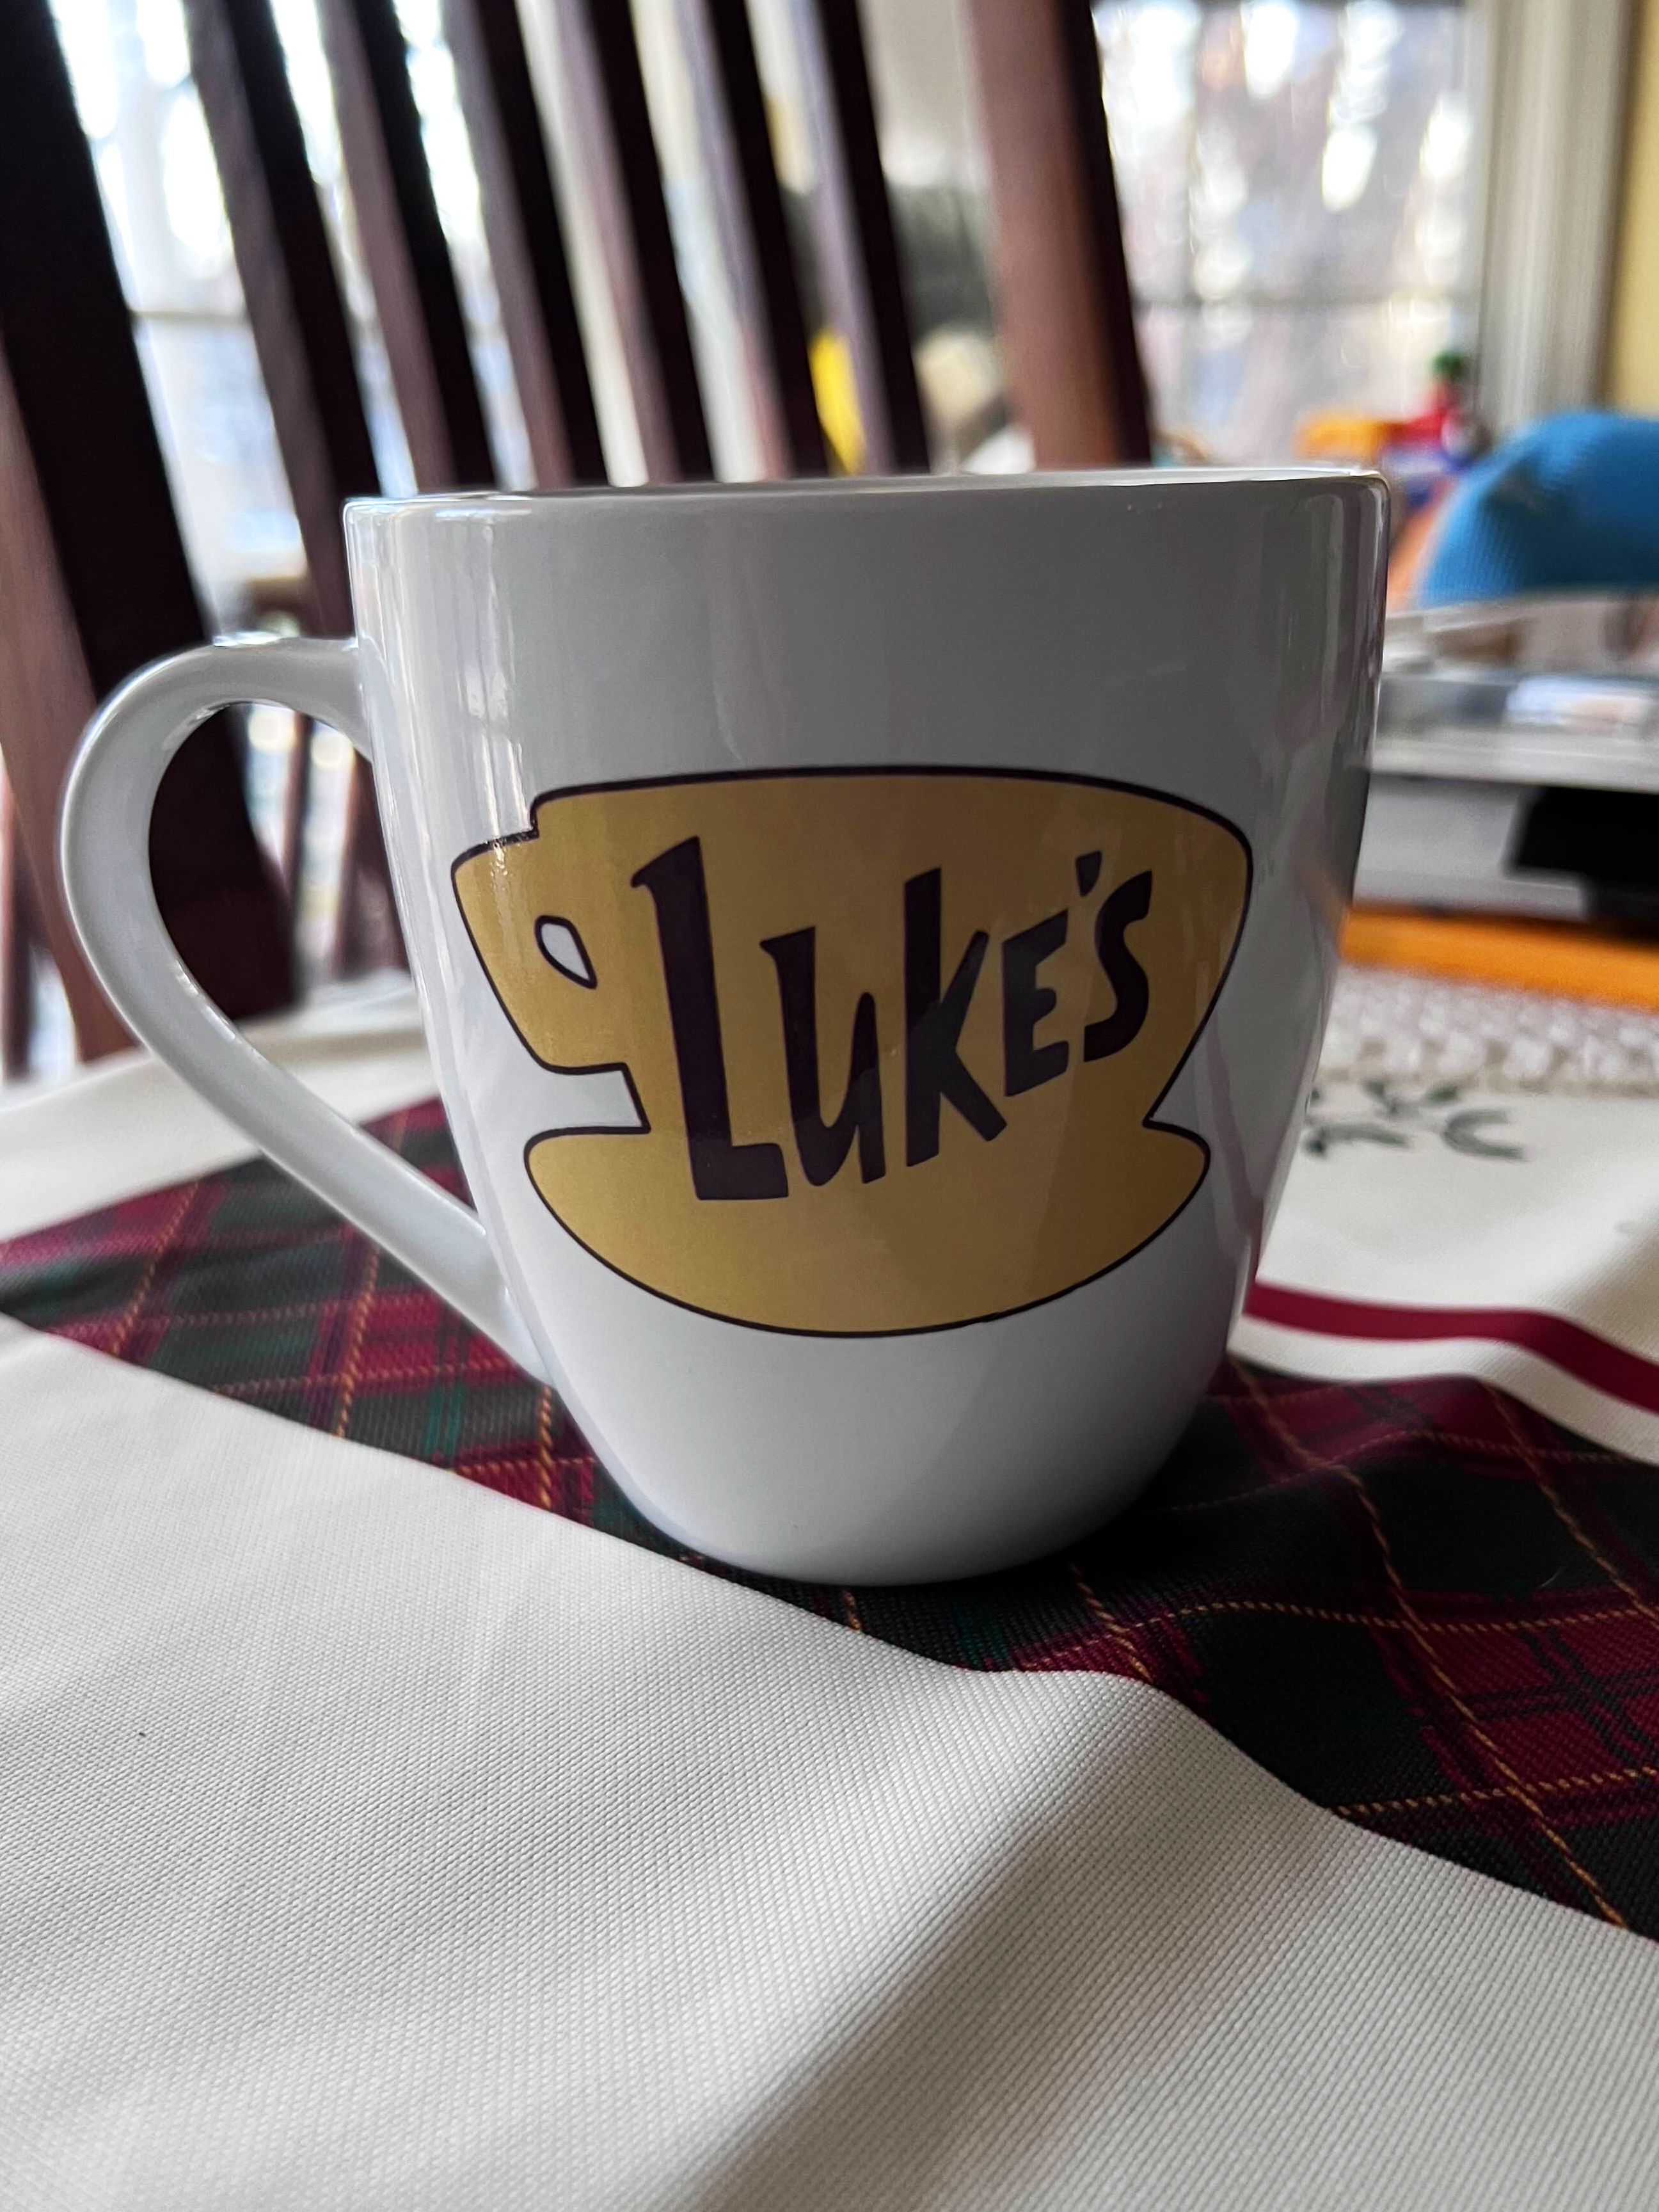
Even though I wasn’t able to make the mug myself just yet, I knew I could still make it a custom ‘Luke’s Diner’ mug with a custom decal. There are a lot of services for custom printed merchandise but many of them wear over time. Overglaze decals, on the other hand, are ceramic transfers that sit on top of glazed ware. They’re fired at cone 015-018 (roughly 1450-1500°F) and become part of the glaze. I ordered mine from CeramiPics, which had better prices than most of the ceramics studios that offer decal printing as a side service. The process was straightforward - I emailed them the design, got a proof back, and I received the decal sheet a few days later.
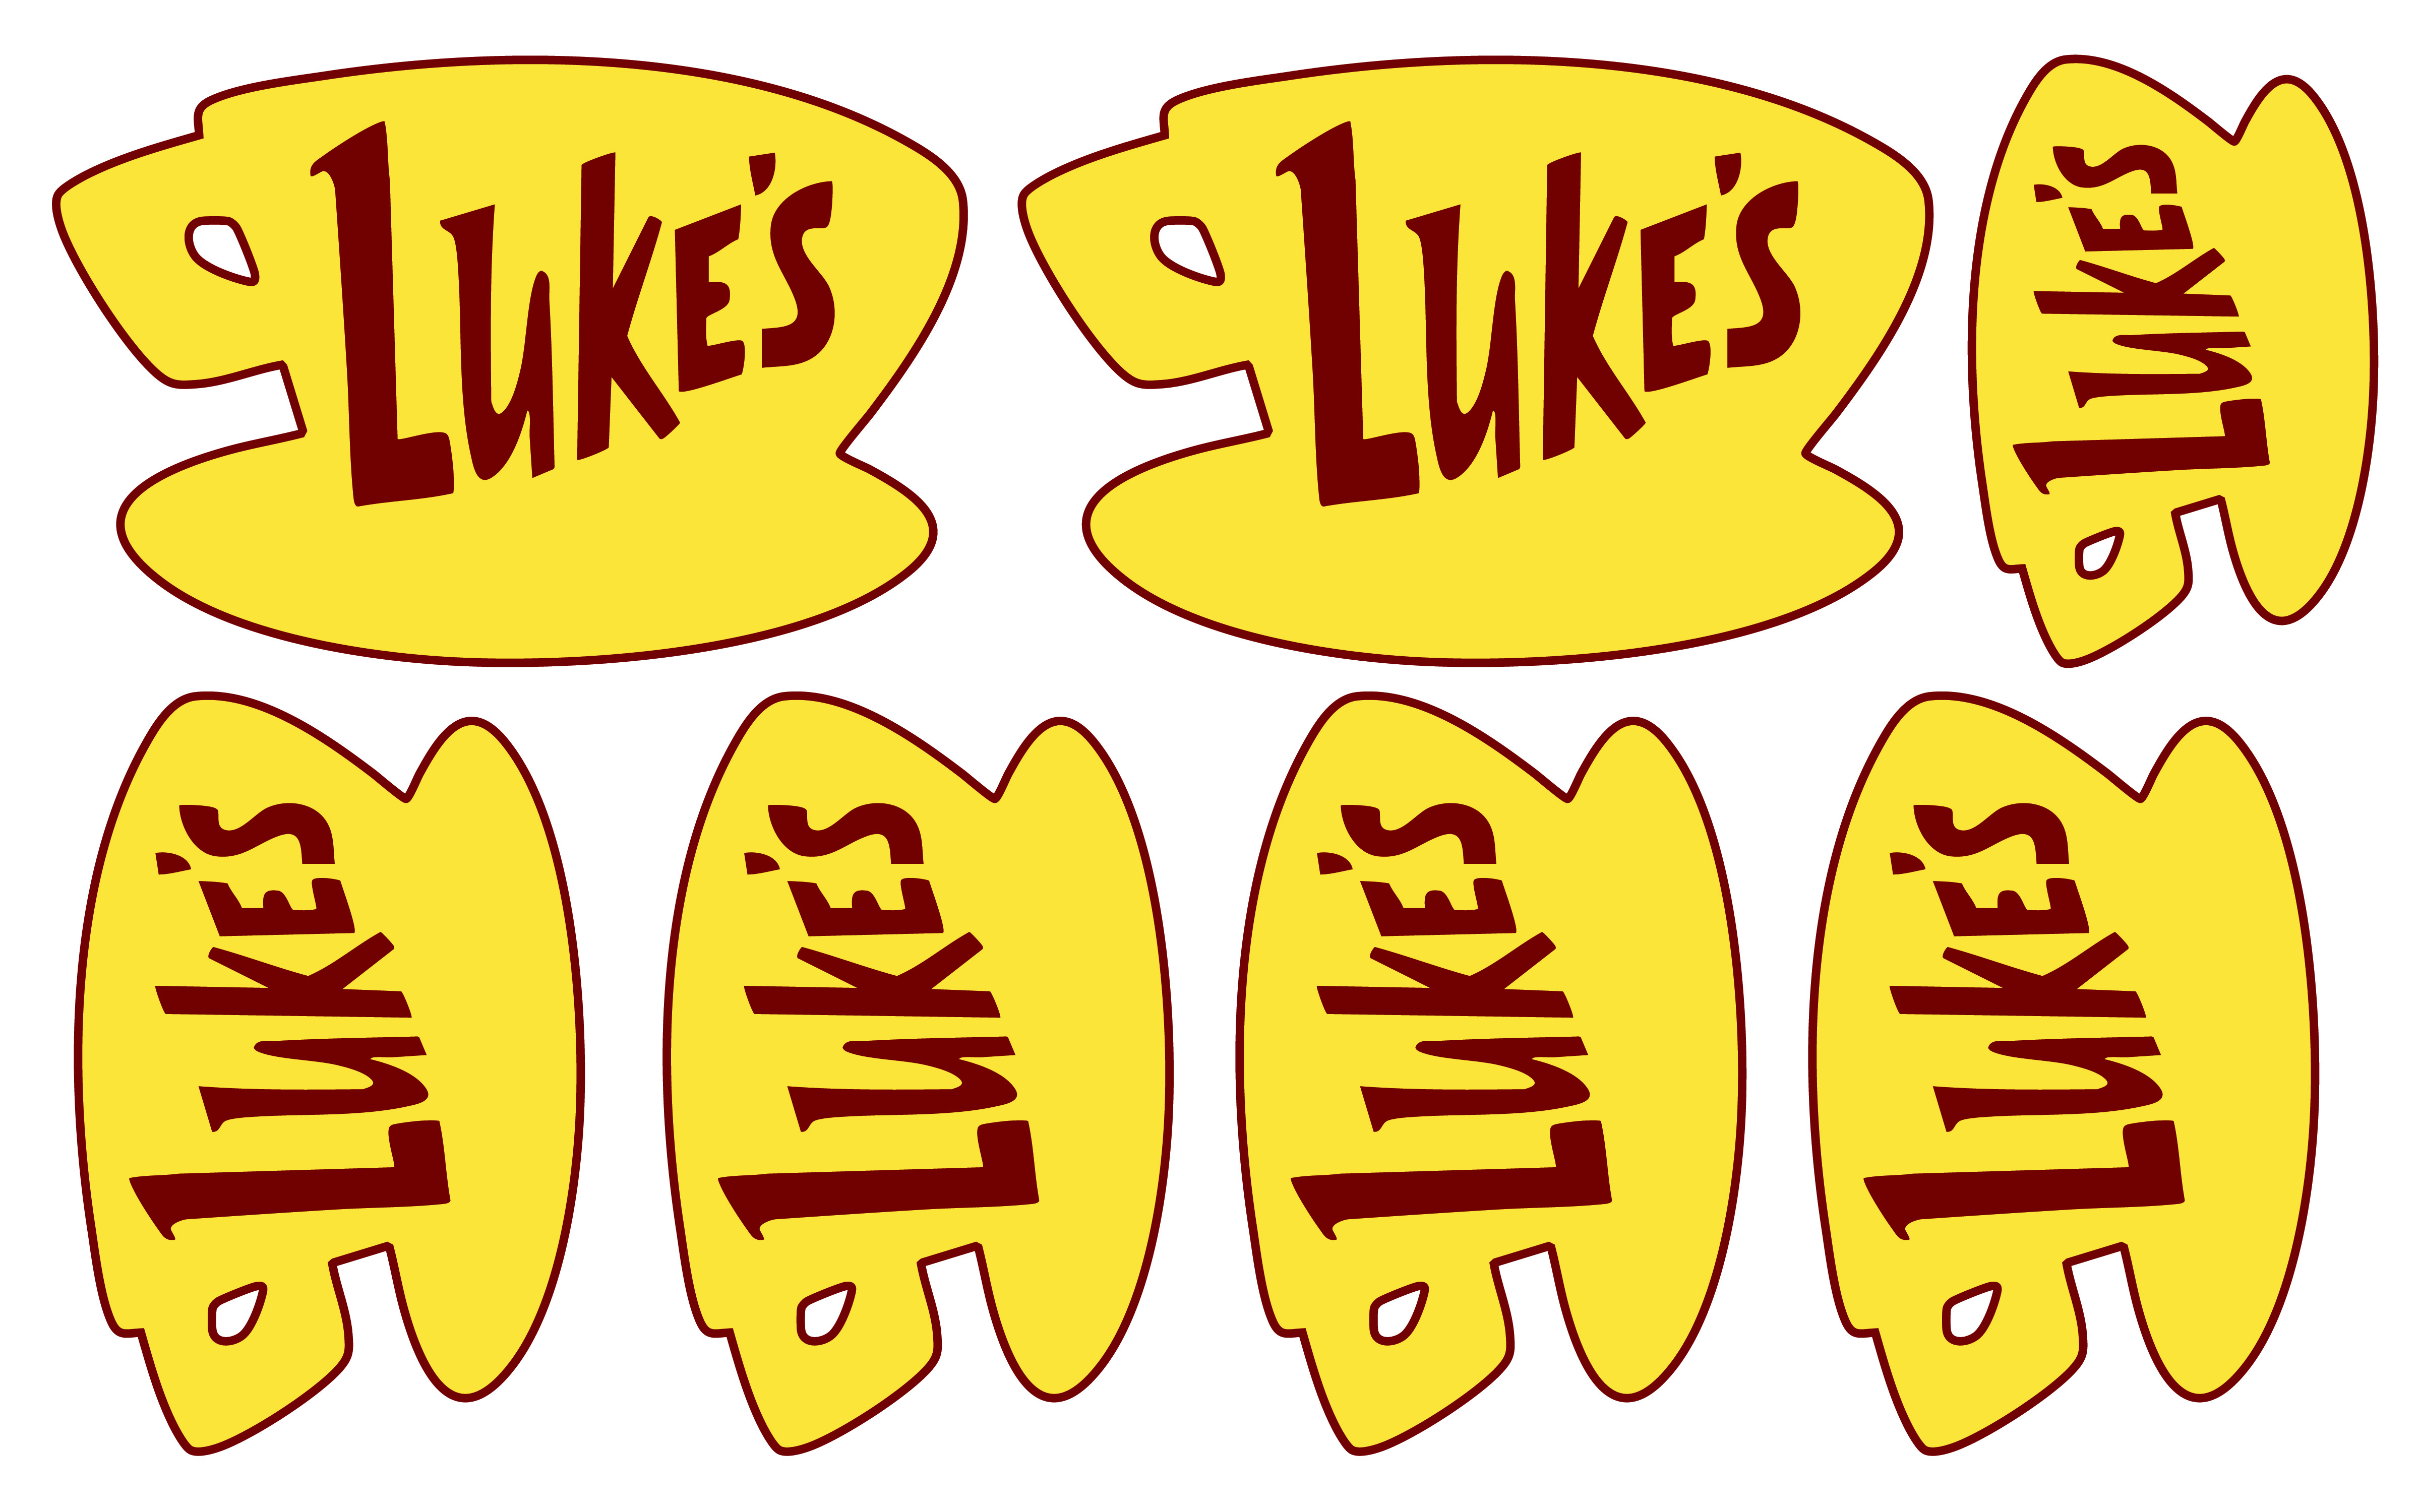
The design was the same Luke’s Diner logo from the stained glass. The show never had branded mugs in the series, but the to-go cups used this logo, so it felt authentic to the source material.
Waterslide decals are forgiving to apply. You soak the decal in water until it releases from the backing paper, then slide it onto the glazed surface and squeegee out any air bubbles. Even at about 3 inches across, the decal wrapped around the mug’s curvature without any issues.
I fired the decal myself using the same small desktop kiln from Tabletop Furnace that I use for investment casting burnout. The low firing temperature meant I could use my existing equipment without any modifications.
Takeaways
The slip casting failure was frustrating, but informative. Preparing slip from wet clay requires more time and testing than I’d budgeted for. There was a lot more science to it than I expected but I’ll definitely try it again in the future. (Darvan 7 still sounds like a star wars planet to me).
The stained glass all in all went smoothly. It’s tedious but also straightforward and the results look professional even for a first attempt. If I do another project, I’d probably try something more ornate or something three dimensional. I’d also definitely 3D print a jig for holding pieces during the copper foil taping.
My sister liked both pieces. She’s already made the mug her daily coffee mug and has reported it’s held up well so far.