Custom Arcade-Style SSBM Controller
Custom arcade-style SSBM controller with a Raspberry Pi Pico, with a 3D-printed case and steel switchplate.

Click image above to view gallery

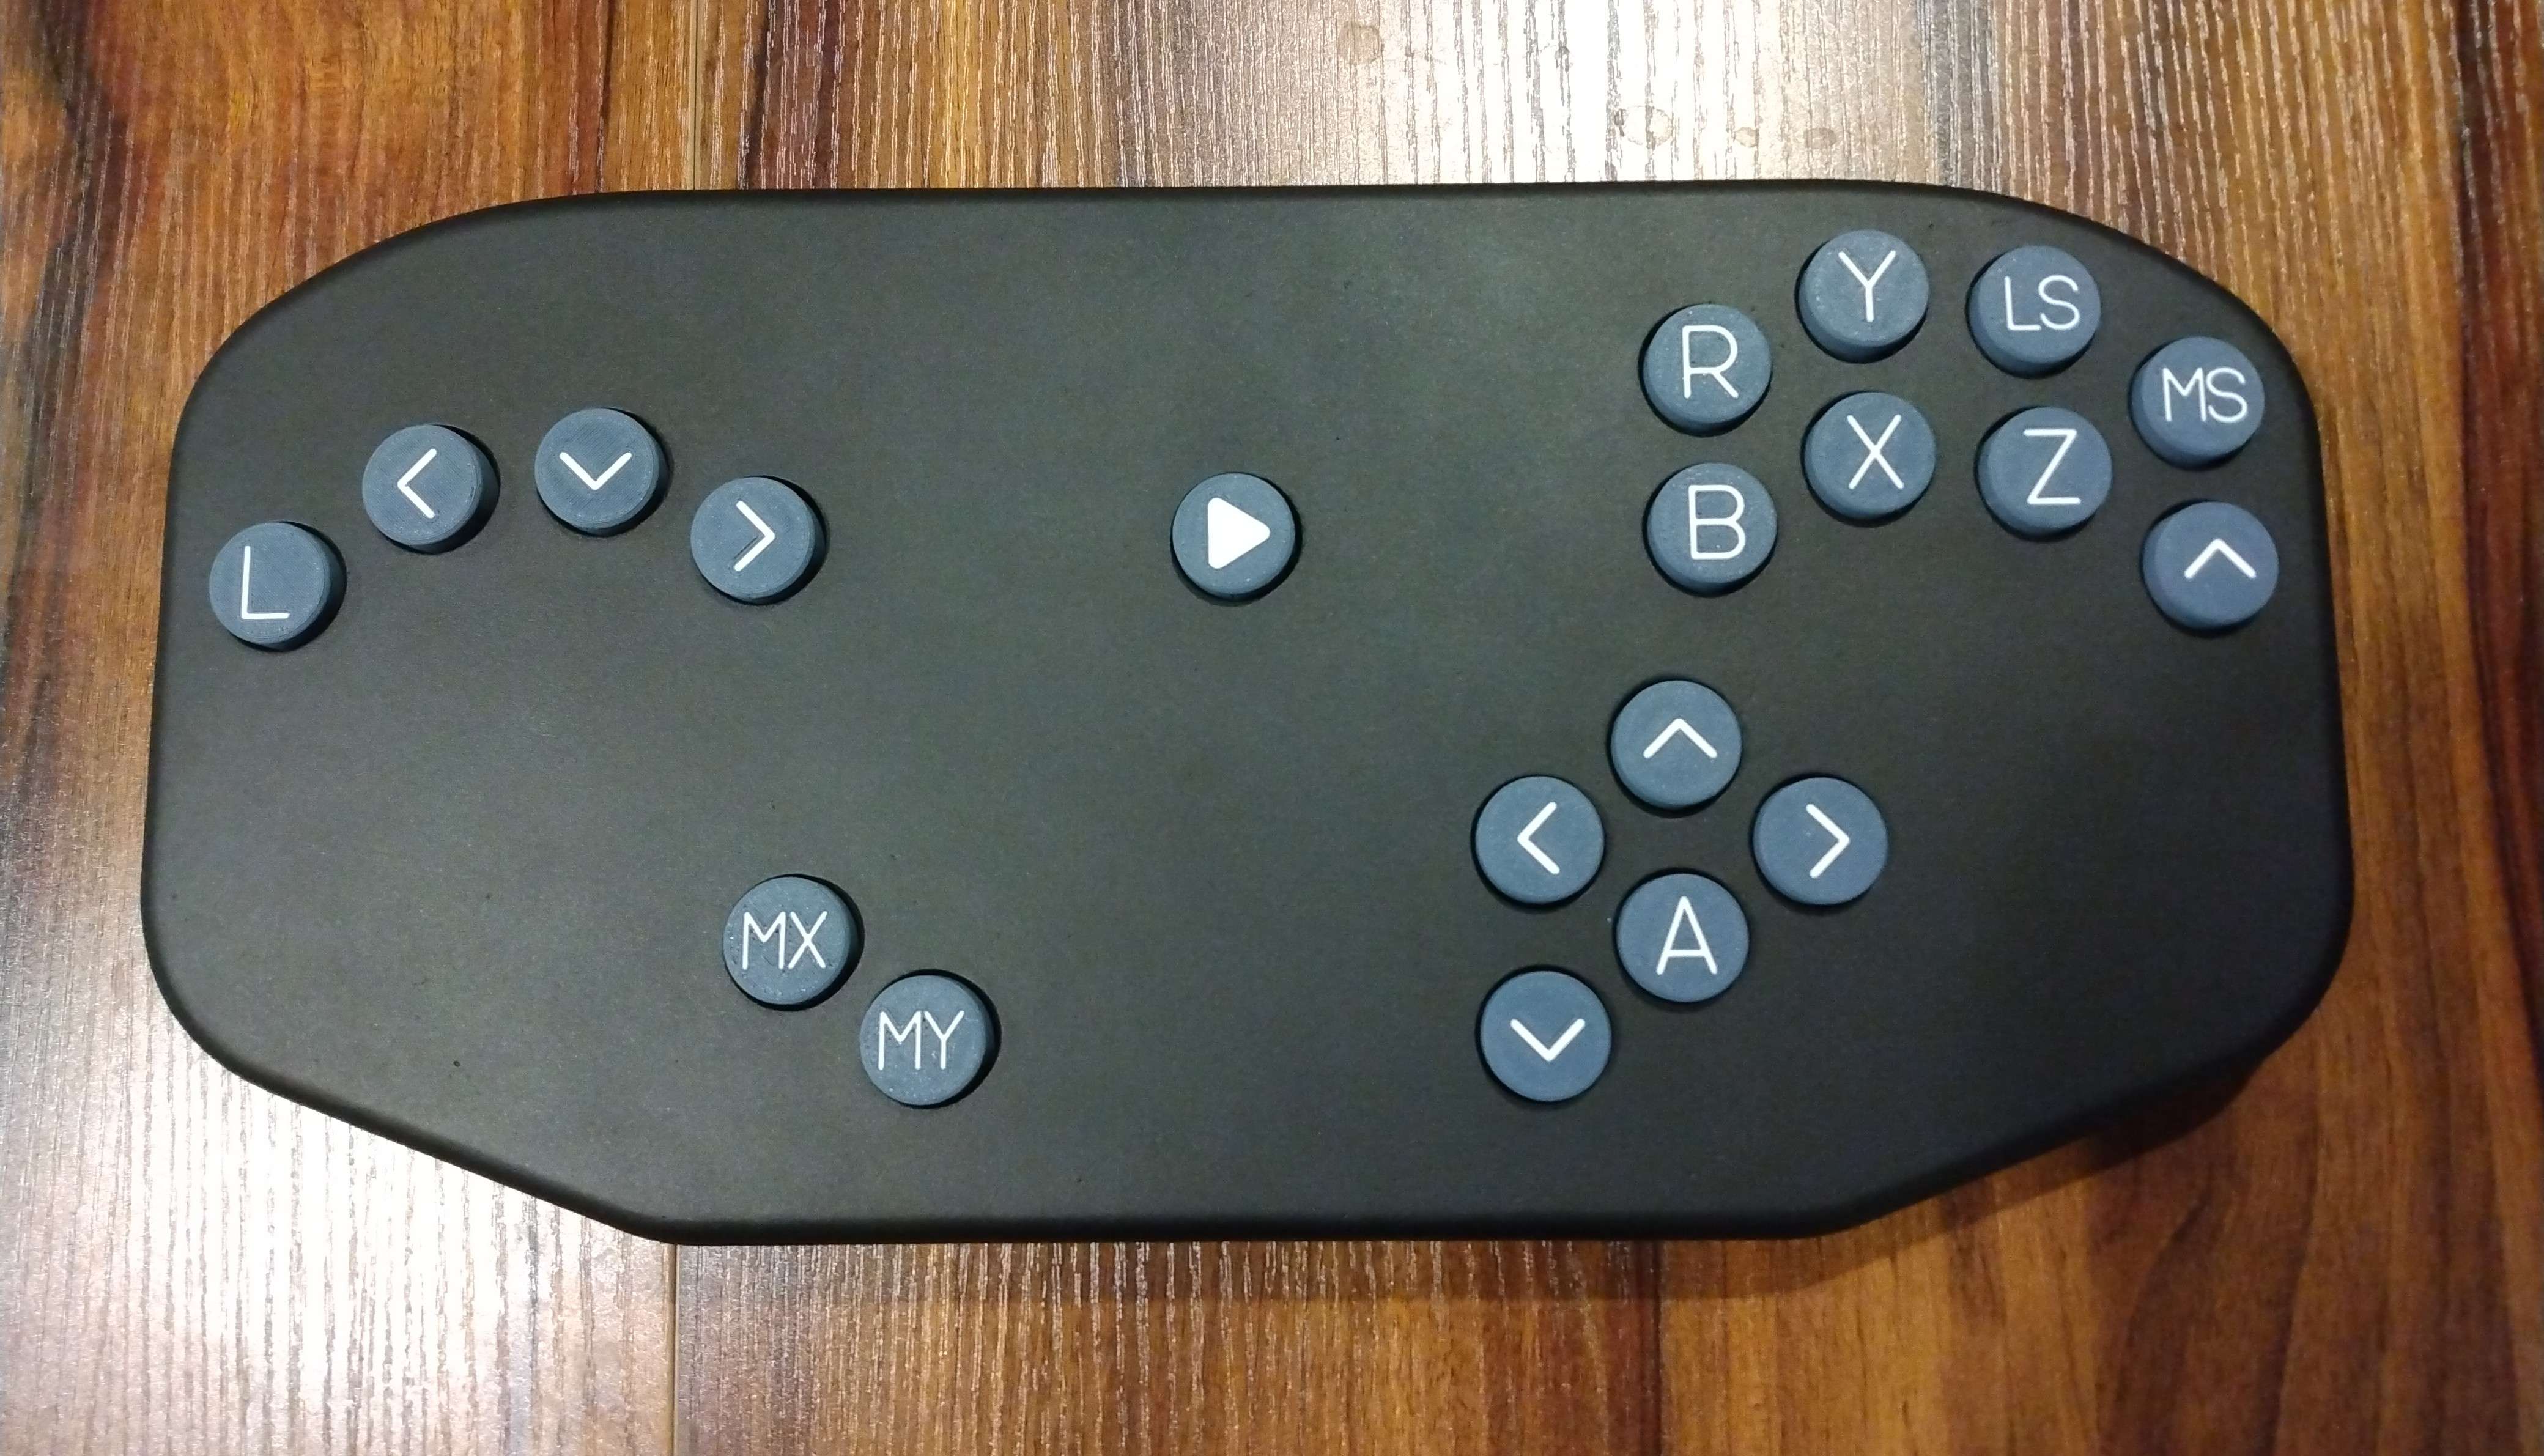
Finished Controller v2
I built these custom arcade-style Super Smash Bros. Melee controllers as a birthday gift for my brother. Click on the gallery above for more images and videos of both builds!
The Build Process
This build is actually two separate controllers, Version 1 was built in July 2021 and Version 2 was built in June 2023.
Version 1

V1 Components
- Frame: Two-part MDF frame
- Keycaps: SLA resin printed
- Switchplate: Custom steel switchplate from sendcutsend
- Microcontroller: Raspberry pi pico running haybox firmware.
- Gamecube Cable: I soldered a cable from the pico and hand-crimped and asssembled the gamecube adapter port.
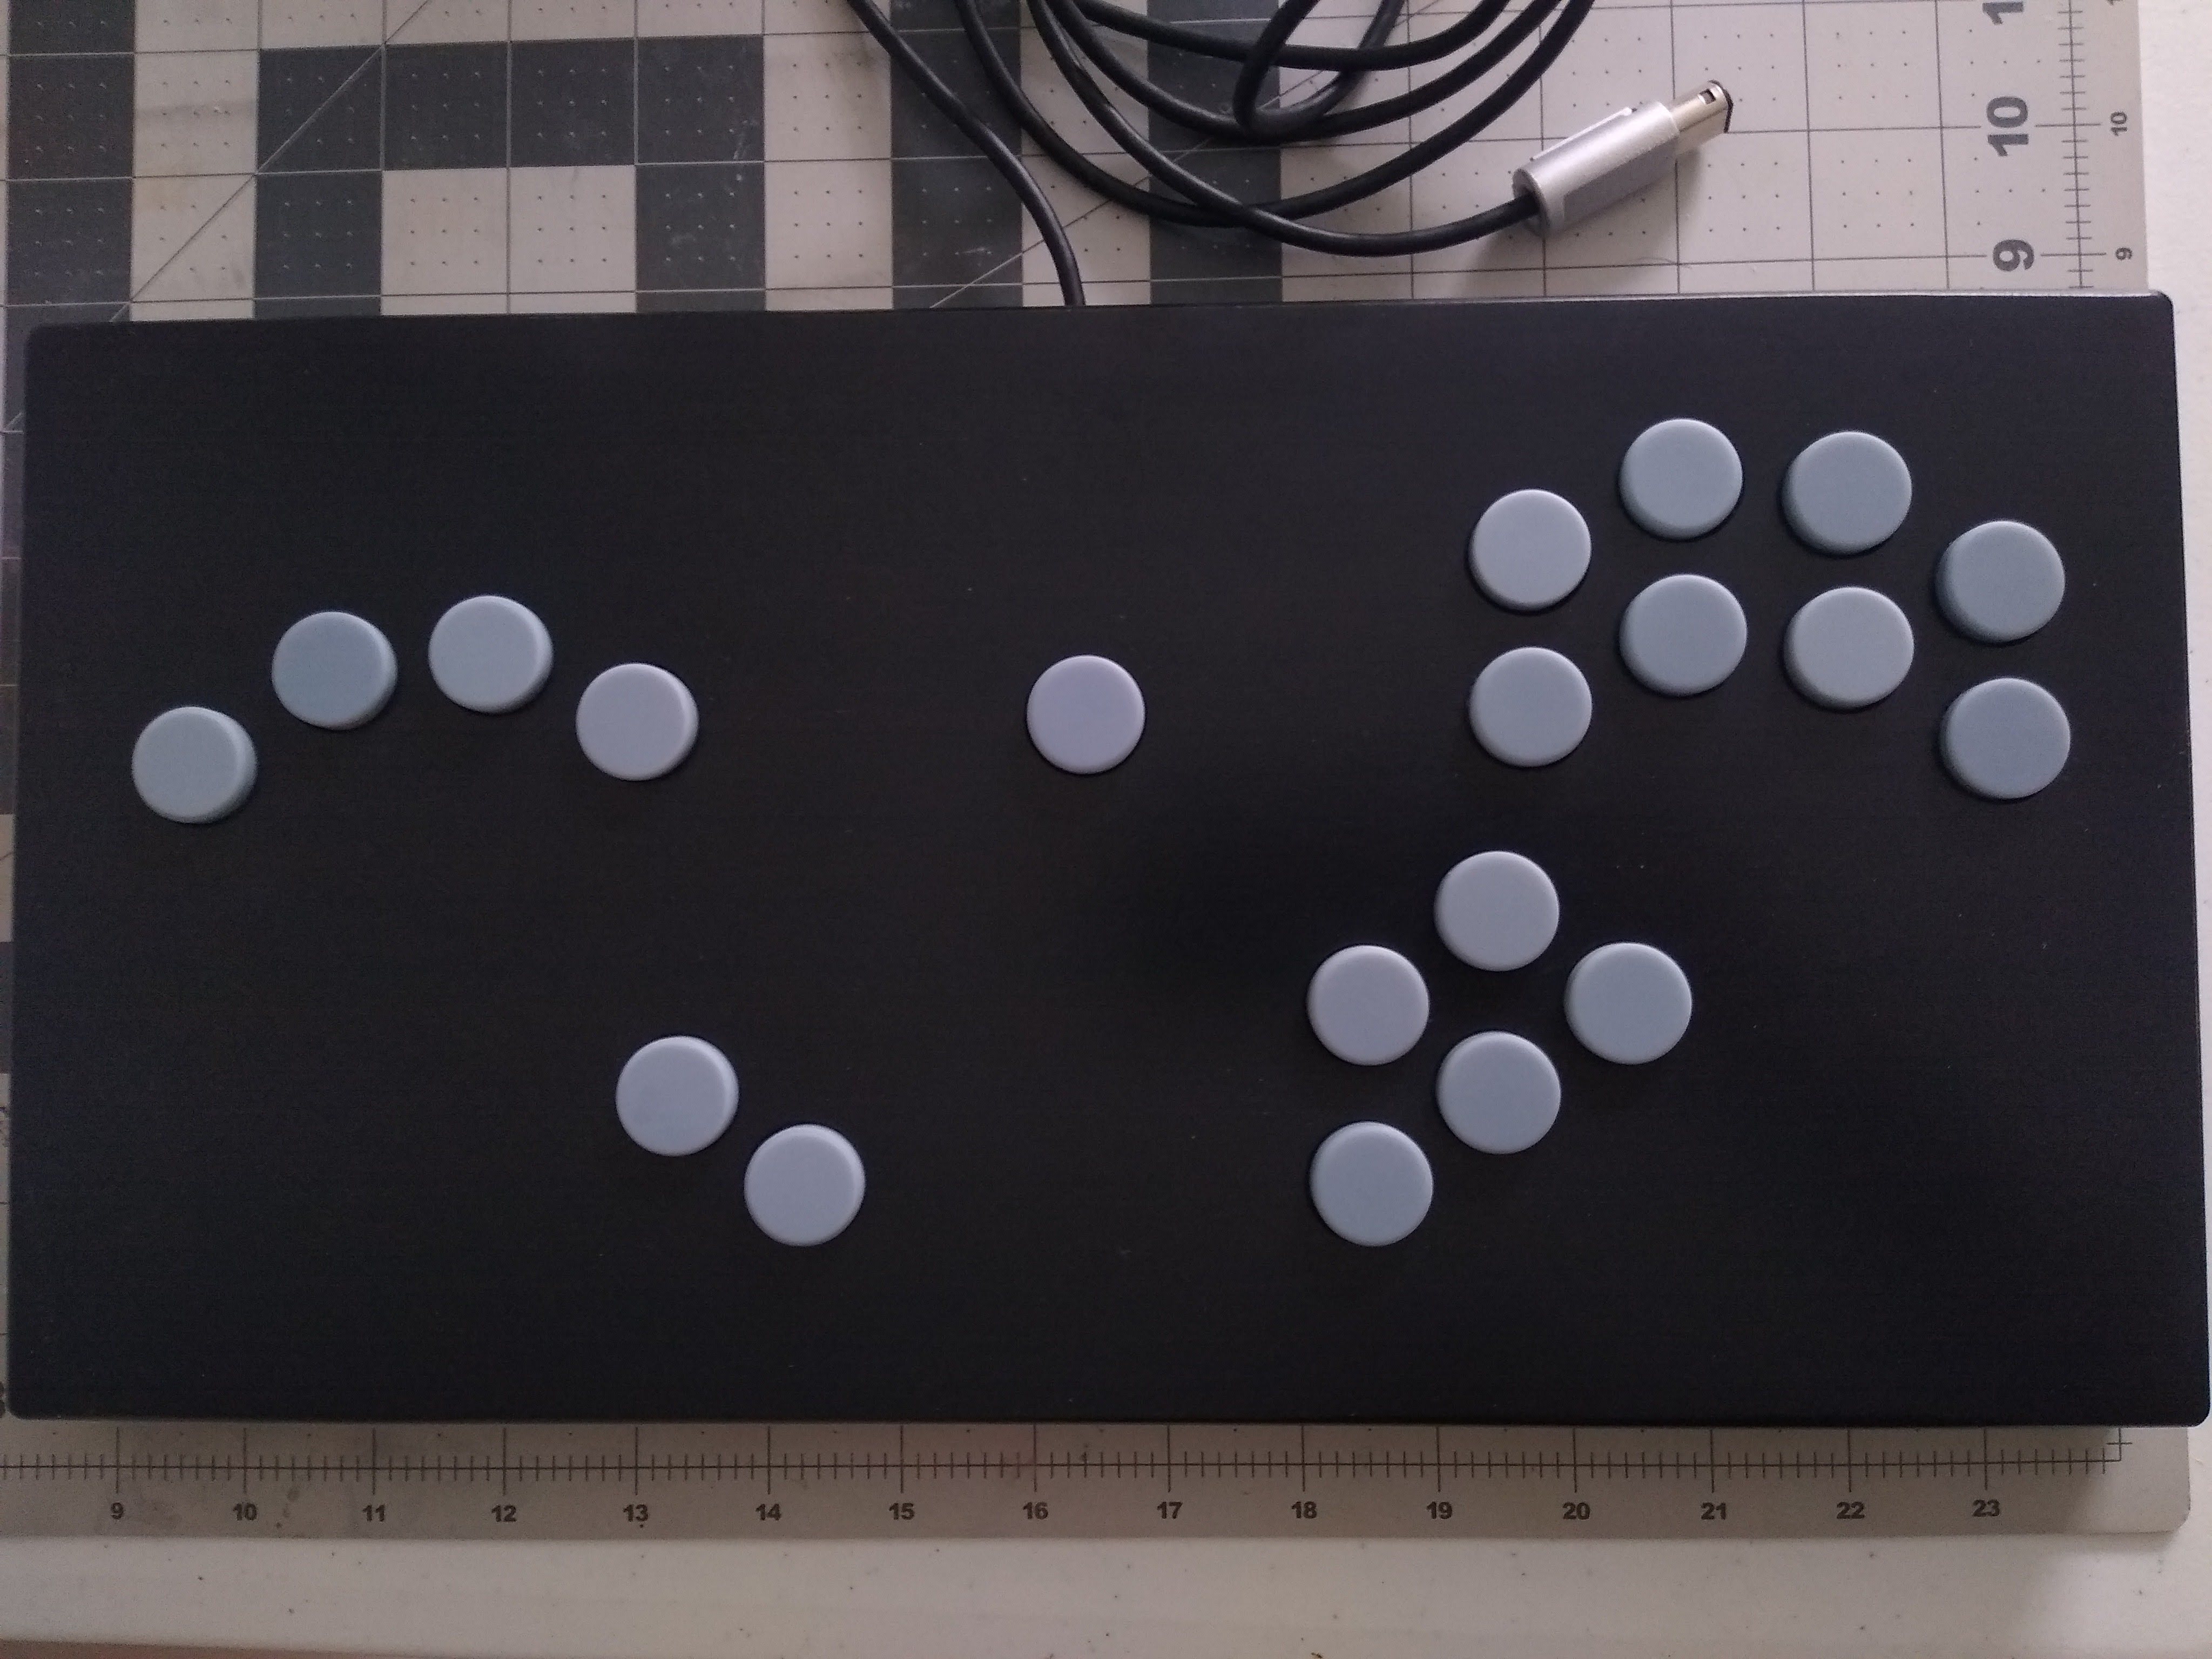
Version 1 was built more or less based off the original smash boxx design. I designed a two part frame with a top panel and bottom plate that sandwiched the steel switchplate. The switch wiring was pretty simple to hand solder together with a raspberry pi pico and some electrical tape to isolate the wires and pico from the switchplate.
The assembly was a bit tedious having to manually drill out each button mounting hole based on the switch plate, but in the end it came together pretty well.
My brother used version as his primary controller for over a year but eventually found the buttons started to wear against the side of the case and weren’t as reliable for high APM play. As a birthday gift I decided to build a version 2 taking into account some of the lessons I learned from the first build.
Version 2
This time I new that I wanted to try and customize the shape of the controller a bit more and make it more durable.

V2 Components
- Frame: Resin printed case from JLC & Steel backplate from sendcutsend
- Keycaps: Multicolor PLA & Nylon
- Switchplate: Integrated into the case
- Microcontroller: Raspberry pi pico running haybox firmware.
- Gamecube Cable: Detachable USB-C to GCC cable
- Misc: Foam insert, adhesive neoprene, and threaded inserts to mount the backplate.
Design Changes
I modelled a new shape based on the frame1 button layout and integrated the switch mountingplate into the case.
I ordered two cases to be resin printed from JLC and then sanded, primed, painted them matte black, and clear coated them with SprayMax 2k so it will stand up to oil and sweat.
The additional features with this build were filling the internal space with a custom laser-cut foam insert to dampen the sound of the switches. The controller backplate was also made of steel this time and I added adhesive neoprene rubber pad underneath to make it more comfortable and give it a bit more grip.
This time, instead of wiring the switches directly to the pico I used switch sockets to make it easier to swap out switches.
The first iteration of the keycaps were multicolor printed with my Bambulab X1C to label each of the buttons.
Final Touches
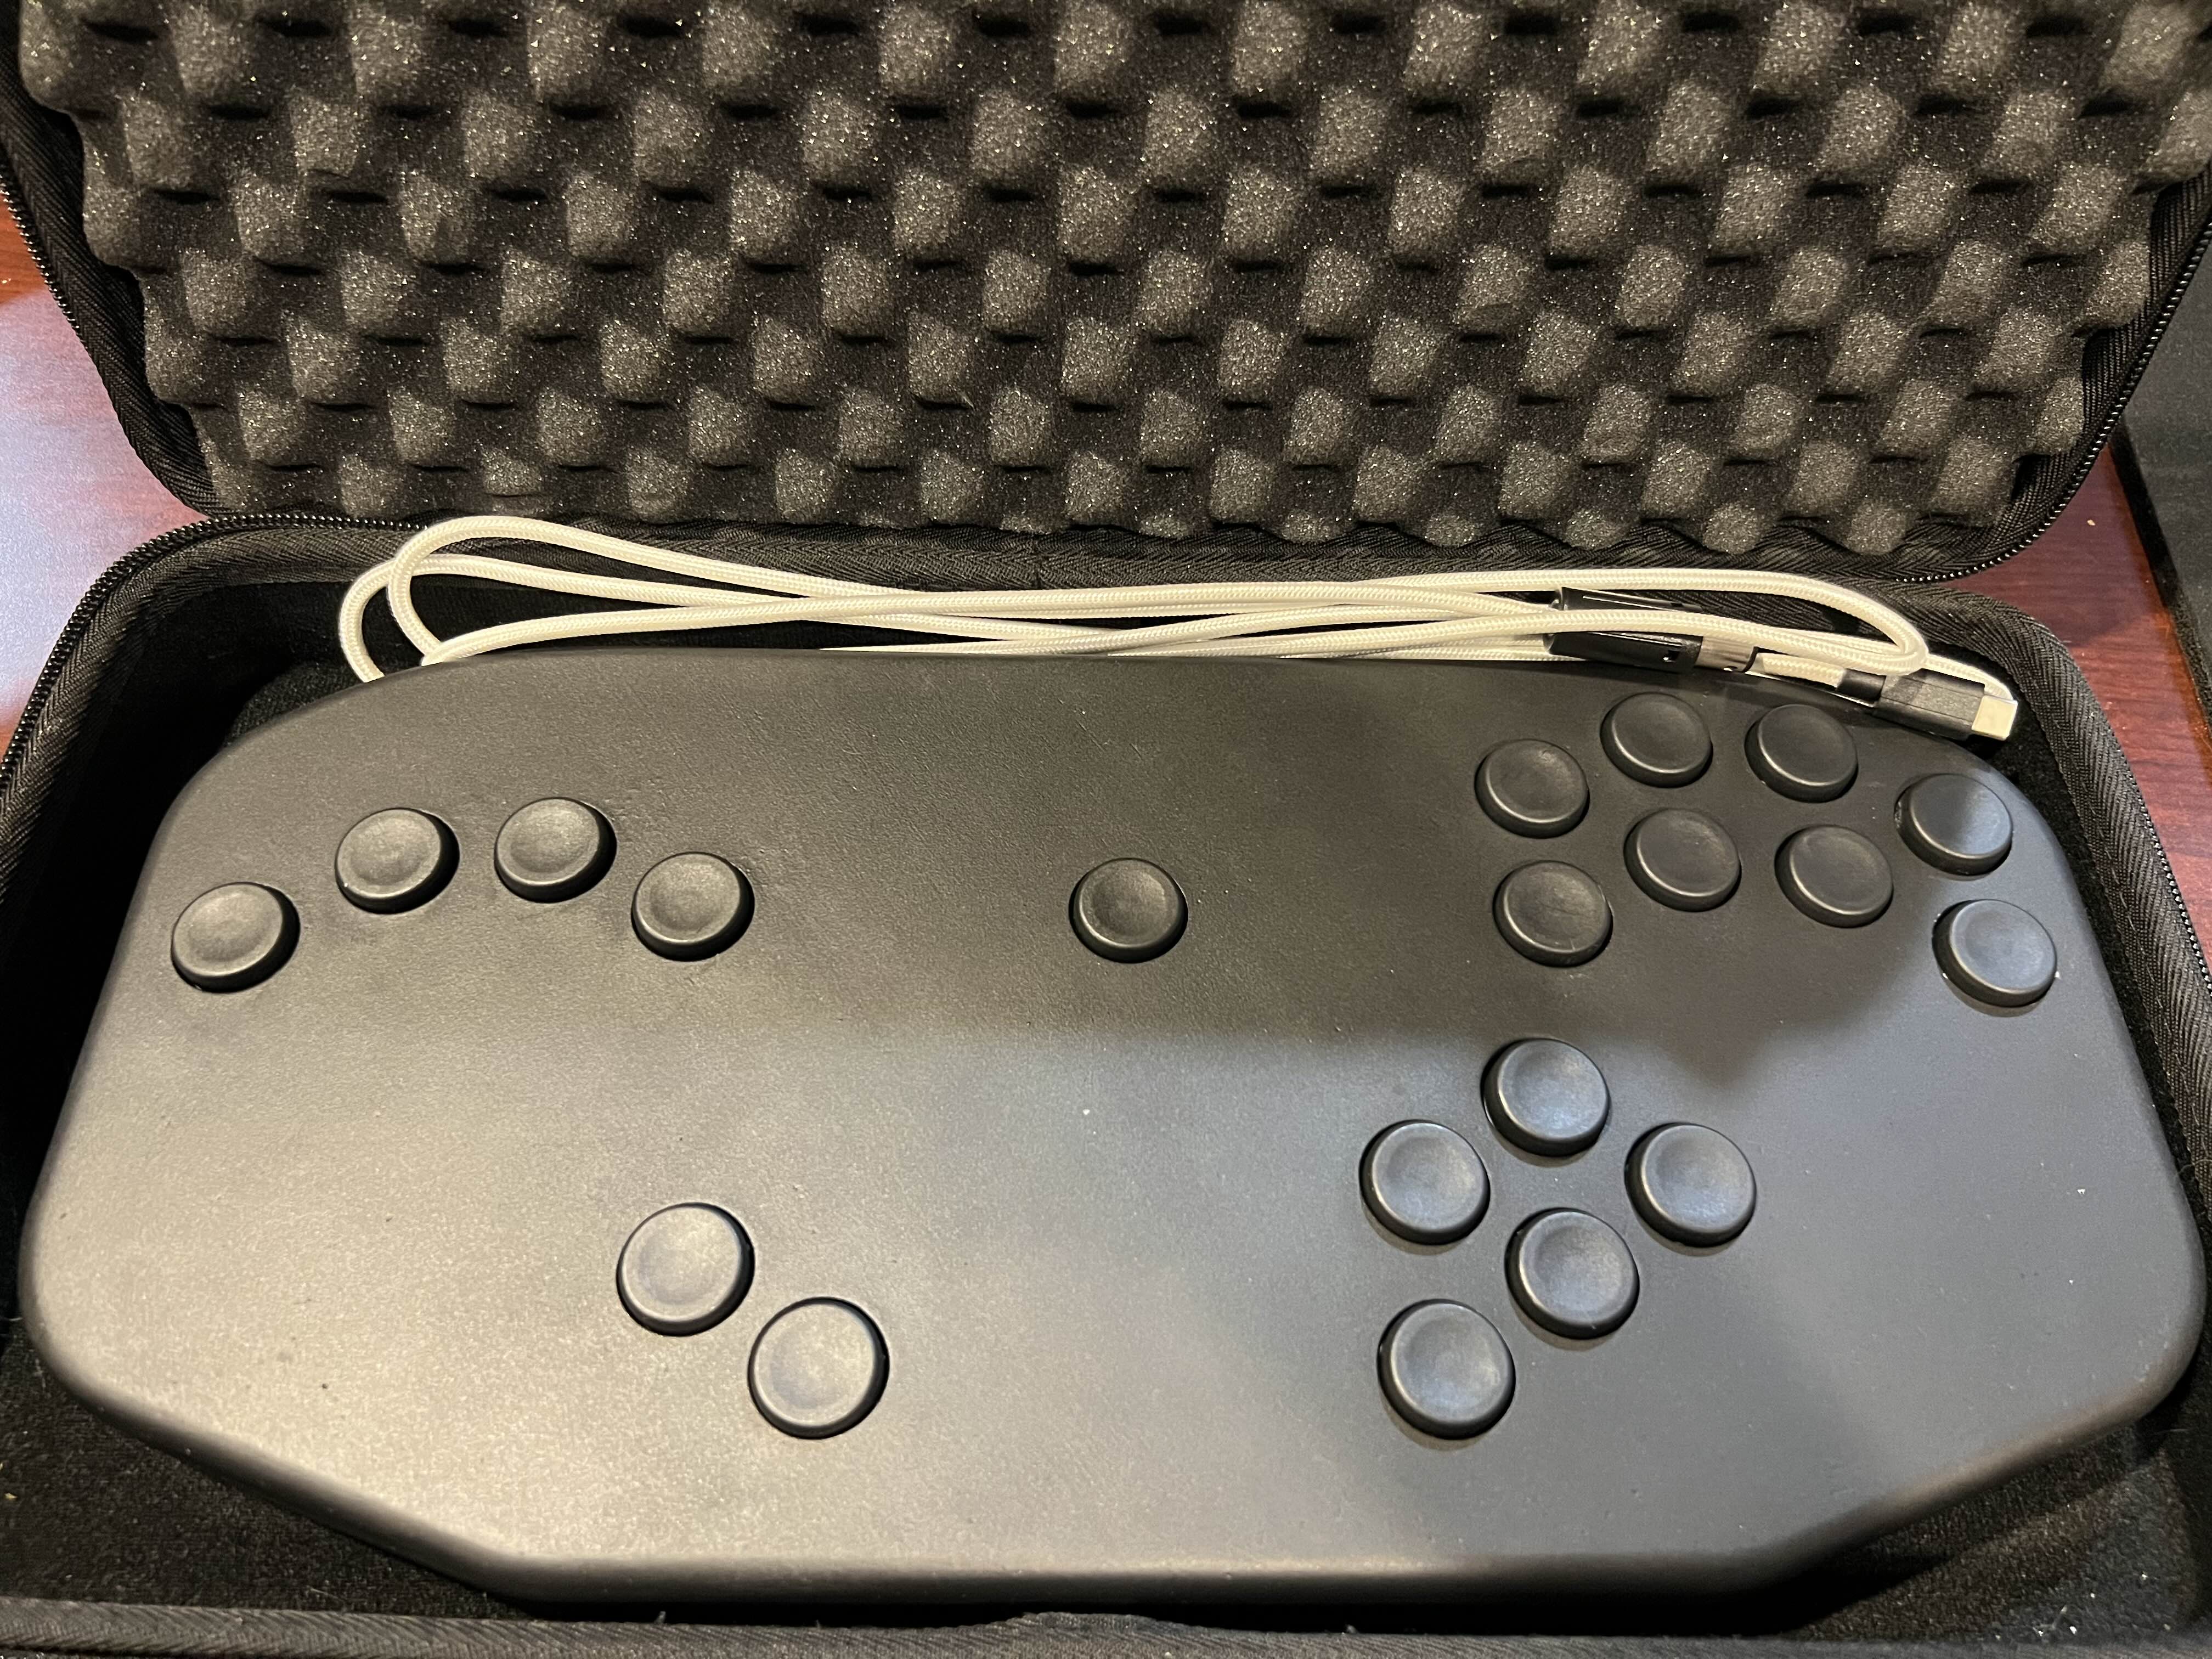
After version 2 was completed, I added a USB-C port to the case with a detachable cable, along with a mini-keyboard carrying case which perfectly fit the controller. I also custom ordered a set of nylon keycaps from JLC to match the aesthetic of the controller.
Conclusion
I’ve been very pleased with how both builds turned out, but version 2 definitely took it up a notch with the aesthetics where it now feels like a real product. The controller has lasted over a year now and is still in great condition, I will have to see if there is a v3 in the future with a custom PCB.